


To take advantage of all the possibilities of your smartphone’s camera, be it one of the top ones on the market or a simpler one, you can take professional photos with your mobile with a small adjustment that you may not be aware of. Since we have tried it, the photos come out much better and it shows in the result. It is not something that you can think of at first, but when you try it you will not want to change. It consists of activating the grid and using the rule of thirds.
The rule of thirds is well known in the world of photography. It is a composition guide for taking good photos that puts someone in the left or right third of the image leaving the other thirds clearer. You can do it with people, but also with other elements, and try to see how well it turns out. The result is impressive and gives a new image to the photos you take.
This is a composition that you can do on many professional cameras, but you can also do it on your Android phone or iPhone, to take more beautiful photos. Although you can later edit the photo after it’s taken, it’s always better if you do it first. Also, if you get into the habit you won’t want to try anything else.
It is true that there are certain photos in which it may be better to opt for another setting, placing the person or the elements in the center, bringing it closer or with different configurations, but with this one you will be successful on many occasions. Can do your tests. And surely you did not even imagine how easy it is to do it with your mobile with a setting that will take seconds to activate. Doing it on your mobile is very quick and easy, so we will tell you how you can do it easily.
Give a new life to your photos: This is how you activate the grid
Yeah you use an iPhone, it will be super easy to activate this setting on your camera. All you have to do is this:
- Go to the Settings of your phone
- Select the Camera option
- Activate Grid
Do it with your Android mobile It is also very easy and it will not cost you to reach the option:
- Go to the camera app
- Click on the cogwheel of the settings
- Look for the Grids option
- Confirm the option
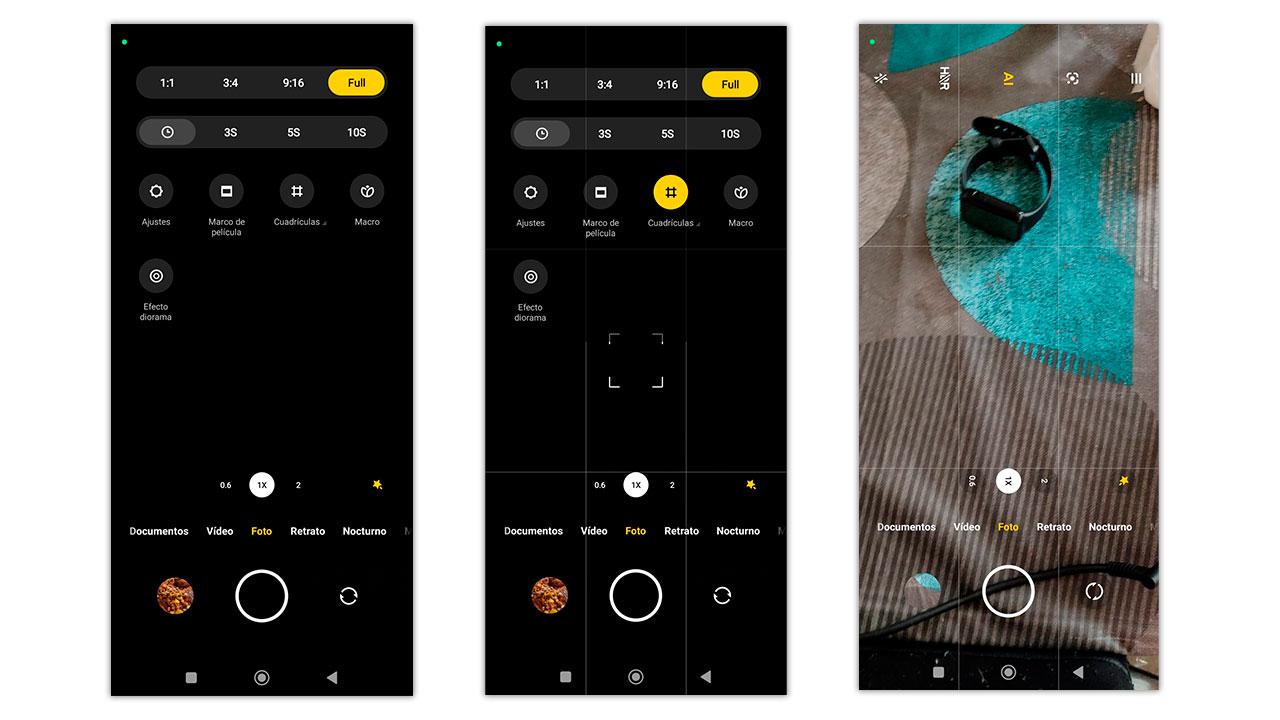
A grid will appear in the photos that you are going to take and you will be able to select where you want the elements of the photo to be. Now, you only have to apply the rule of thirds in your captures. It’s your job to choose the right location. In any case, with this adjustment it will be much easier for you frame the elements in the part you want looking at the lines that appear on the screen.
Make your own tests and improve your photos
You can try other options taking your imagination fly, although this is one of the best configurations you will find. if you are able to play with light, the elements and dedicate some time, the results will be more professional. It will take you seconds with this option and you will see what your photos look like from now on.
If your camera is good, you’ll notice it much more in different situations, even at night if you have a good night mode, but even if you don’t have the best camera in the world, you’ll see that your photos are much more professional. Have you tried it yet? Check it out for yourself!