


The first thing that comes to mind to remotely access our Home Assistant instance is to open port 8123 directly on our home router. This is a serious mistake, because you will be providing access without using HTTPS (the operating system uses HTTP by default), in addition to exposing the graphical user interface without any filtering, which could cause someone to hack your home automation system. Some options to get in safely are using a previously installed and configured VPN server, a local reverse proxy with Traefik or Nginx, Cloudflare Tunnel, and also using the popular ZeroTier VPN. At RedesZone we have already explained in detail what is ZeroTier, how it works, its installation on any operating system and also the configuration on different devices. We recommend you visit our complete tutorial so that you know how it works.
Why use ZeroTier instead of a VPN server
There are a large number of reasons to install and configure this very special VPN, which is very fast, secure and will allow us to connect from anywhere. Below you can see some of them:
- Local and remote access when connecting to the VPN network. The security of the connection is the same as if we used a local VPN server, but with the ease that the server is provided by the company, and we will only have to configure one parameter on the clients. Once we are connected, we will access through the private IP address that the SDN VPN network will provide you.
- We do not have to open ports on our routerthe device will connect in client mode to the ZeroTier VPN server, so we have a transversal connection and we do not have to open any ports.
- It works if your connection uses CG-NATsince the connection is made from the inside out, to greatly facilitate its use.
- We do not have to install and configure a VPN server, either in the home automation system itself or in the home router that we have. We eliminate complex configurations.
As you can see, we have many advantages of using this type of VPN instead of the typical installed VPN server, especially because it is much easier to configure and we do not depend on connecting to our home server, ideal if we have CG-NAT in the connection , or if we use a 4G or 5G connection for the Internet in our home. If you want to know how to configure it, below you have all the details.
Configuration via web in ZeroTier
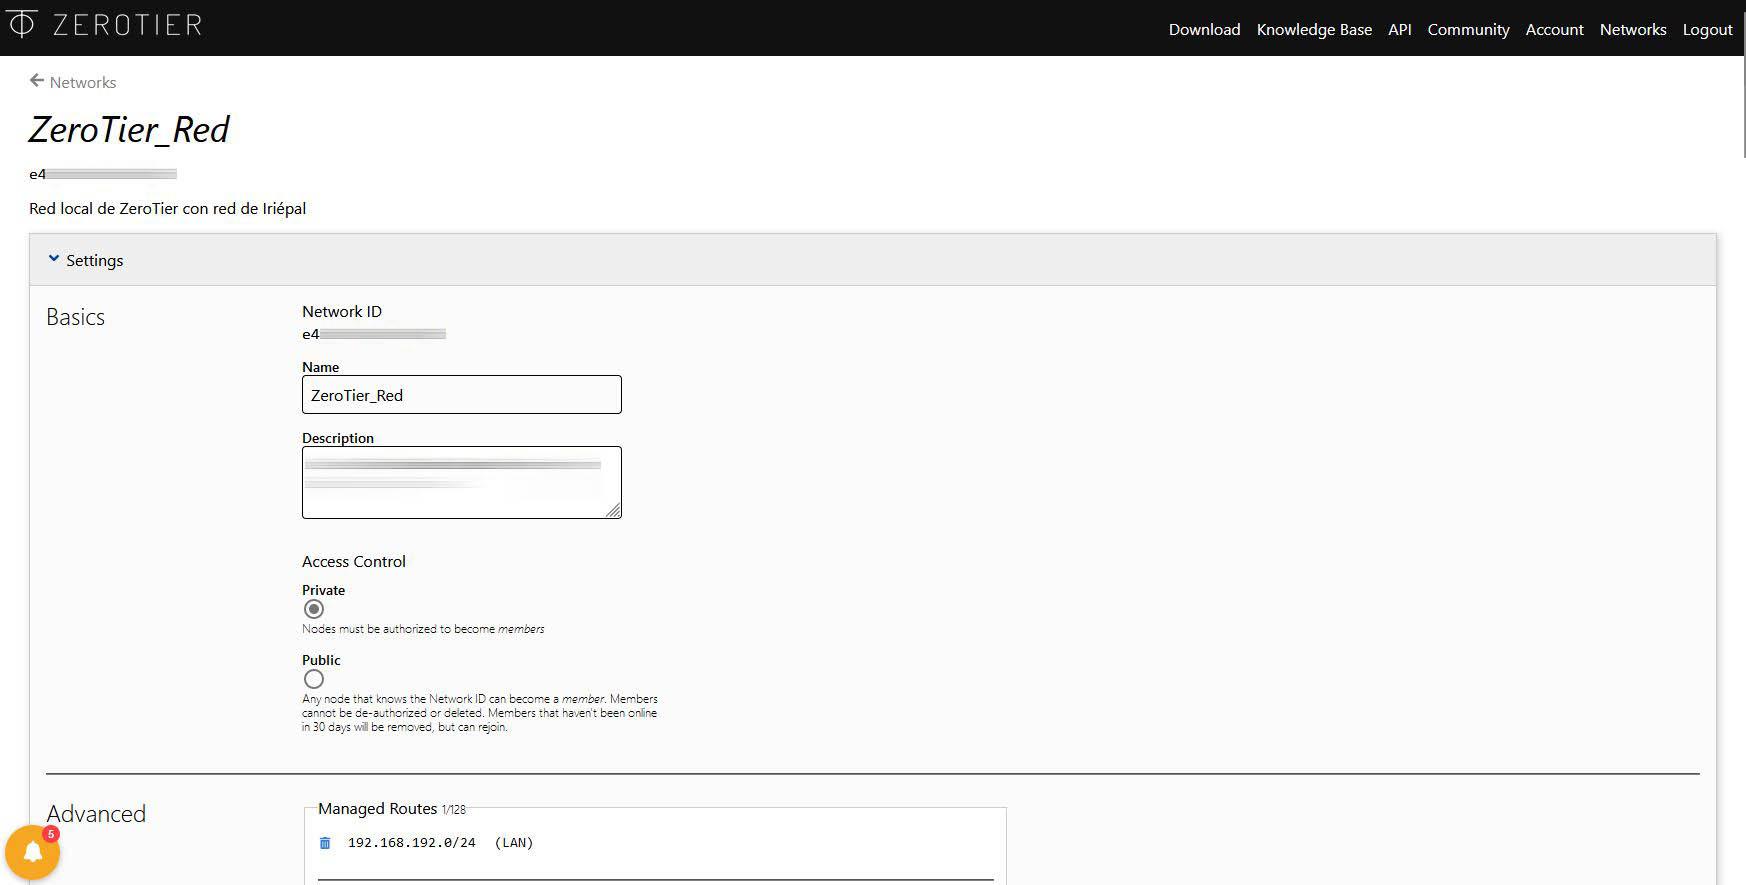
The first thing we must do is access the official website of the service, and create a new network or use a network that we have created previously. In the manual that we have indicated previously, you have all the details regarding operation. In the main panel we can see the only network that we have created:
If we enter this network, we can see the «Network ID» which is the most important thing to configure new clients. We can also see the name and a description that we have given it. In the section of “Access Control» we must select the option «Private«.
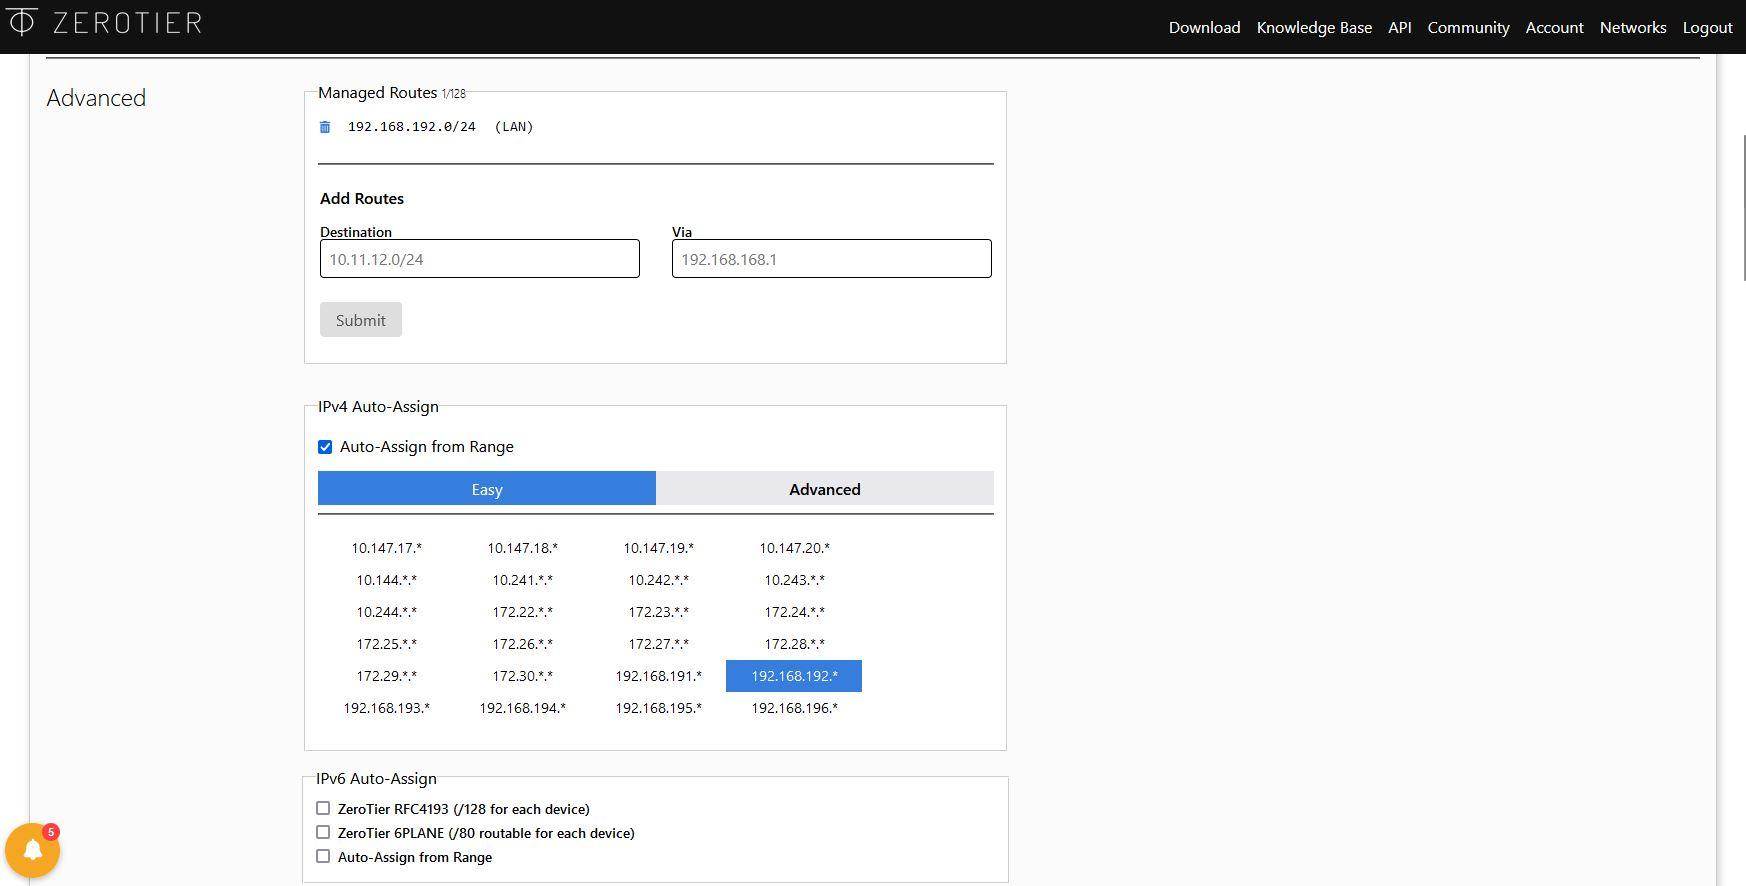
In the section of “Advanced» We can see the local LAN network that all the devices connected to ZeroTier will have, we could create static routes to reach other networks, in case we have other networks registered. In principle, we should not touch anything in these configuration menus.
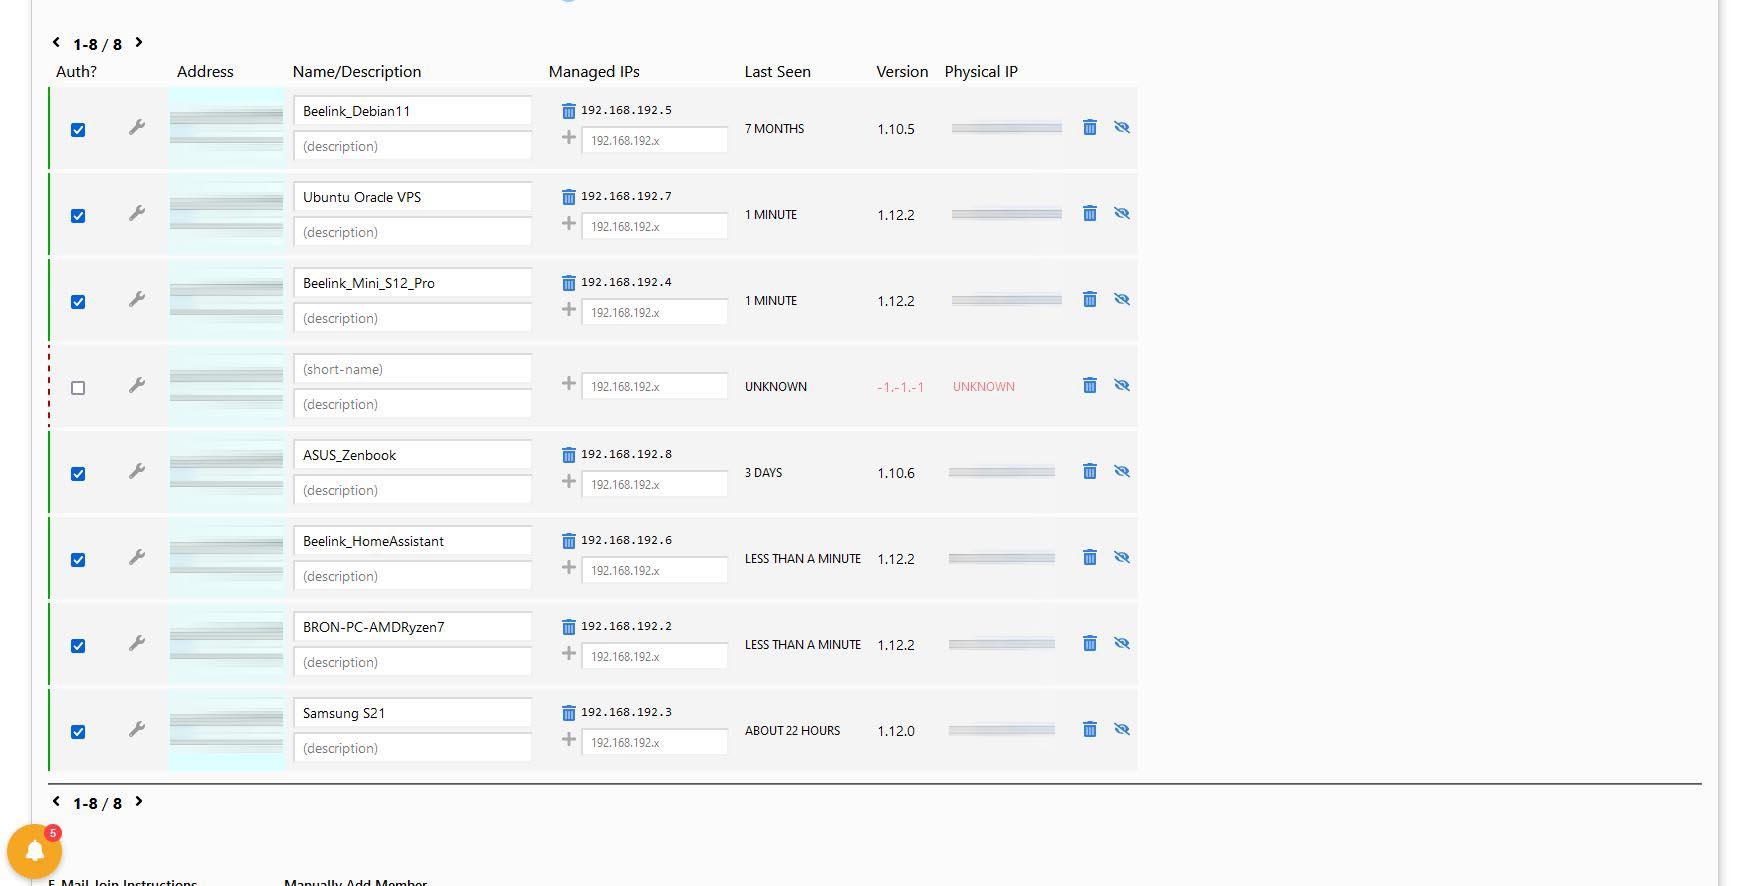
Just below we can see the complete list of connected clients, we have both the ZeroTier address, the name and description, as well as the different private IP addresses that have been assigned to them, we could change this IP address at any time via the web, since it is where we will manage the entire network. Of course, in these menus we will also see both the client version and the clients' public IP address.
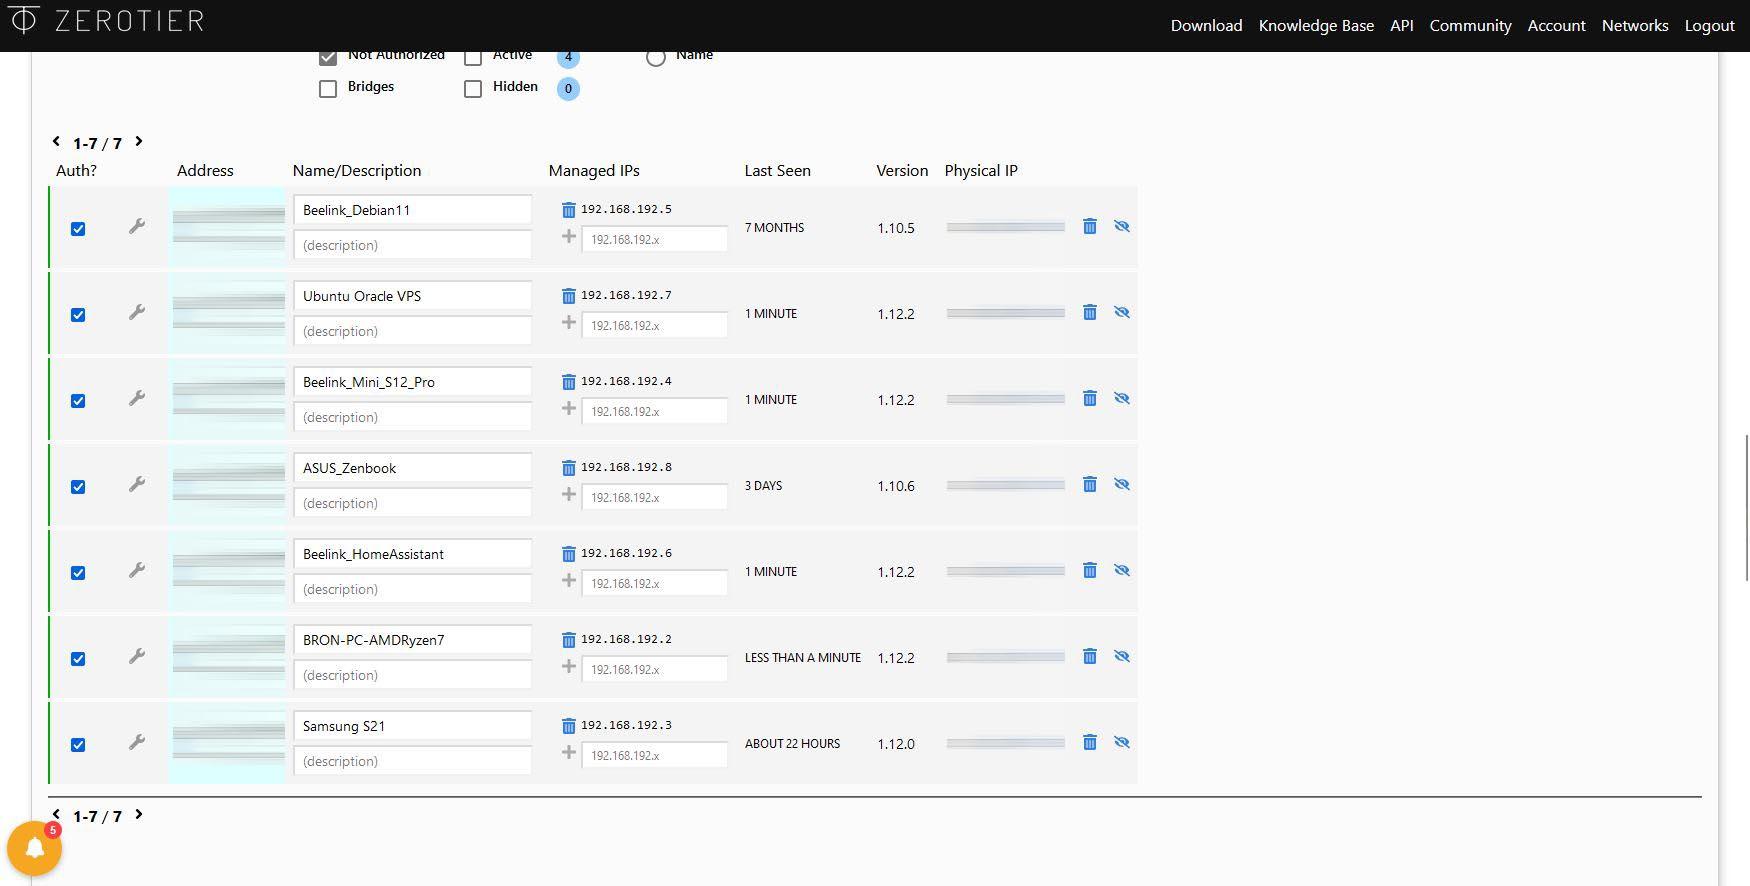
It is very important that we have this website open while we configure Home Assistant, because a new client will appear when we enter the “Network ID”.
Installation and configuration in Home Assistant
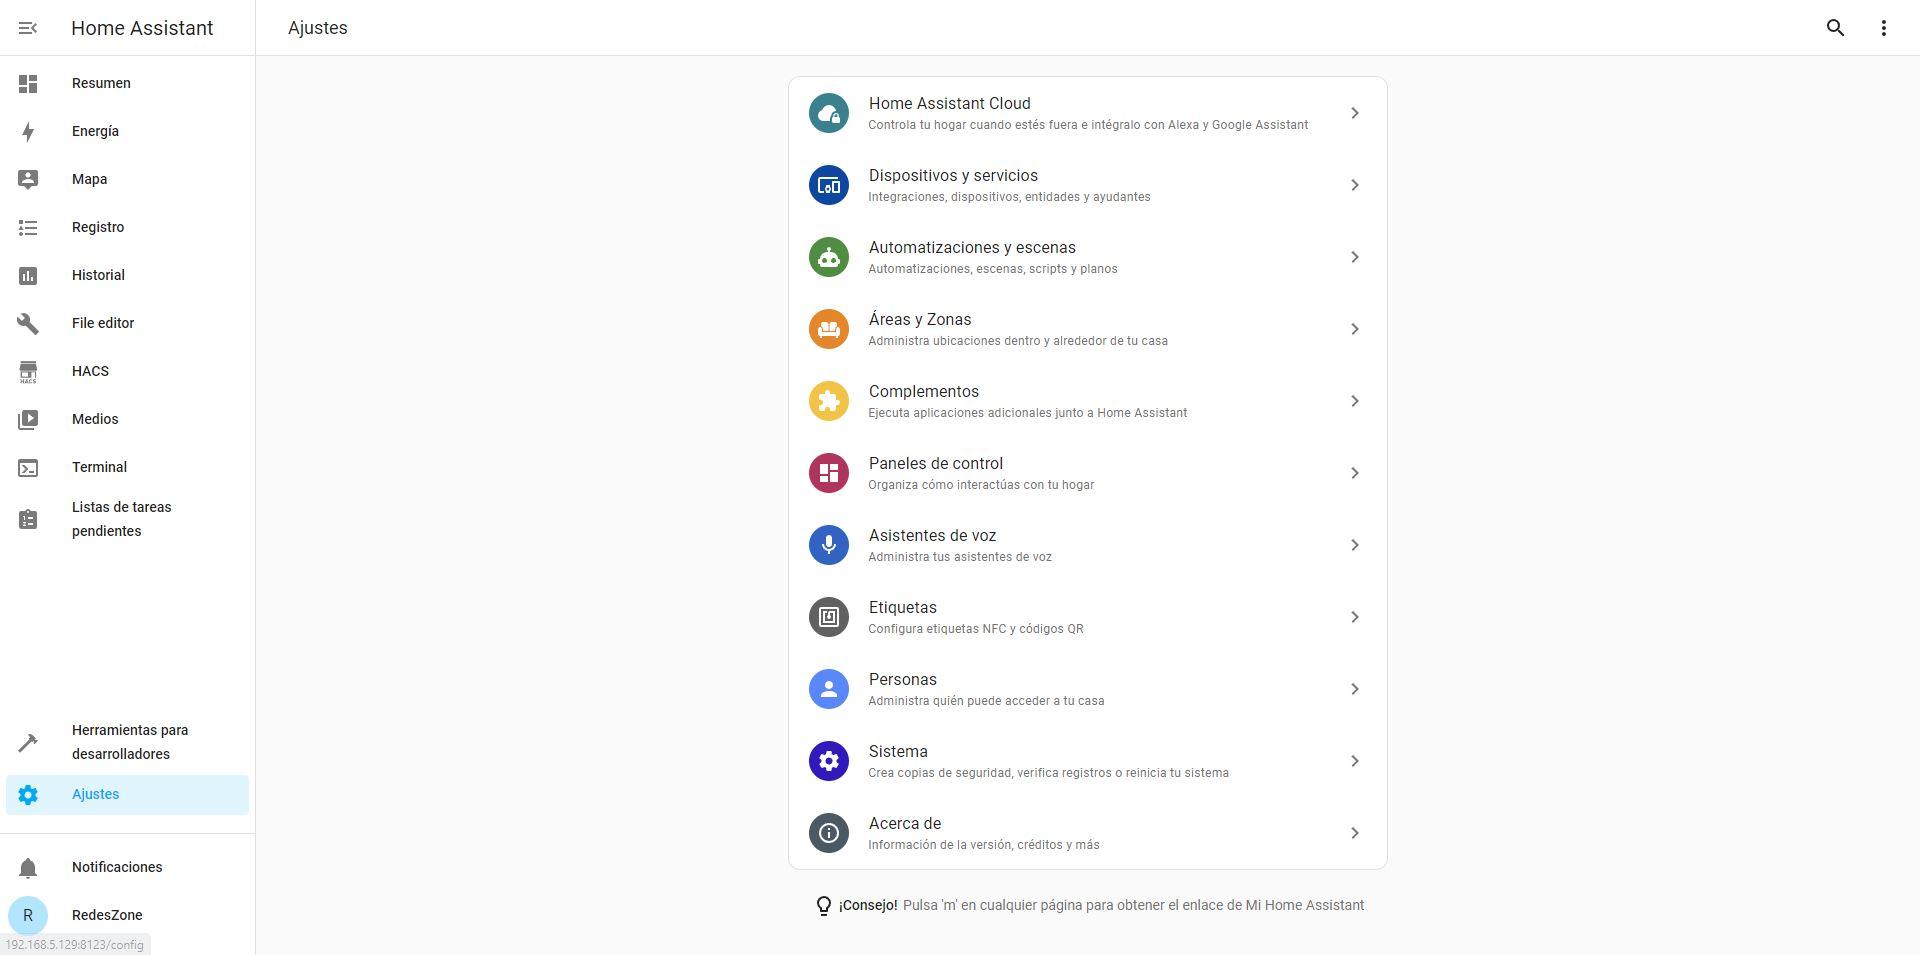
To install this software, we simply have to go to the «Settings / Plugins» to install the corresponding plugin in HAOS.
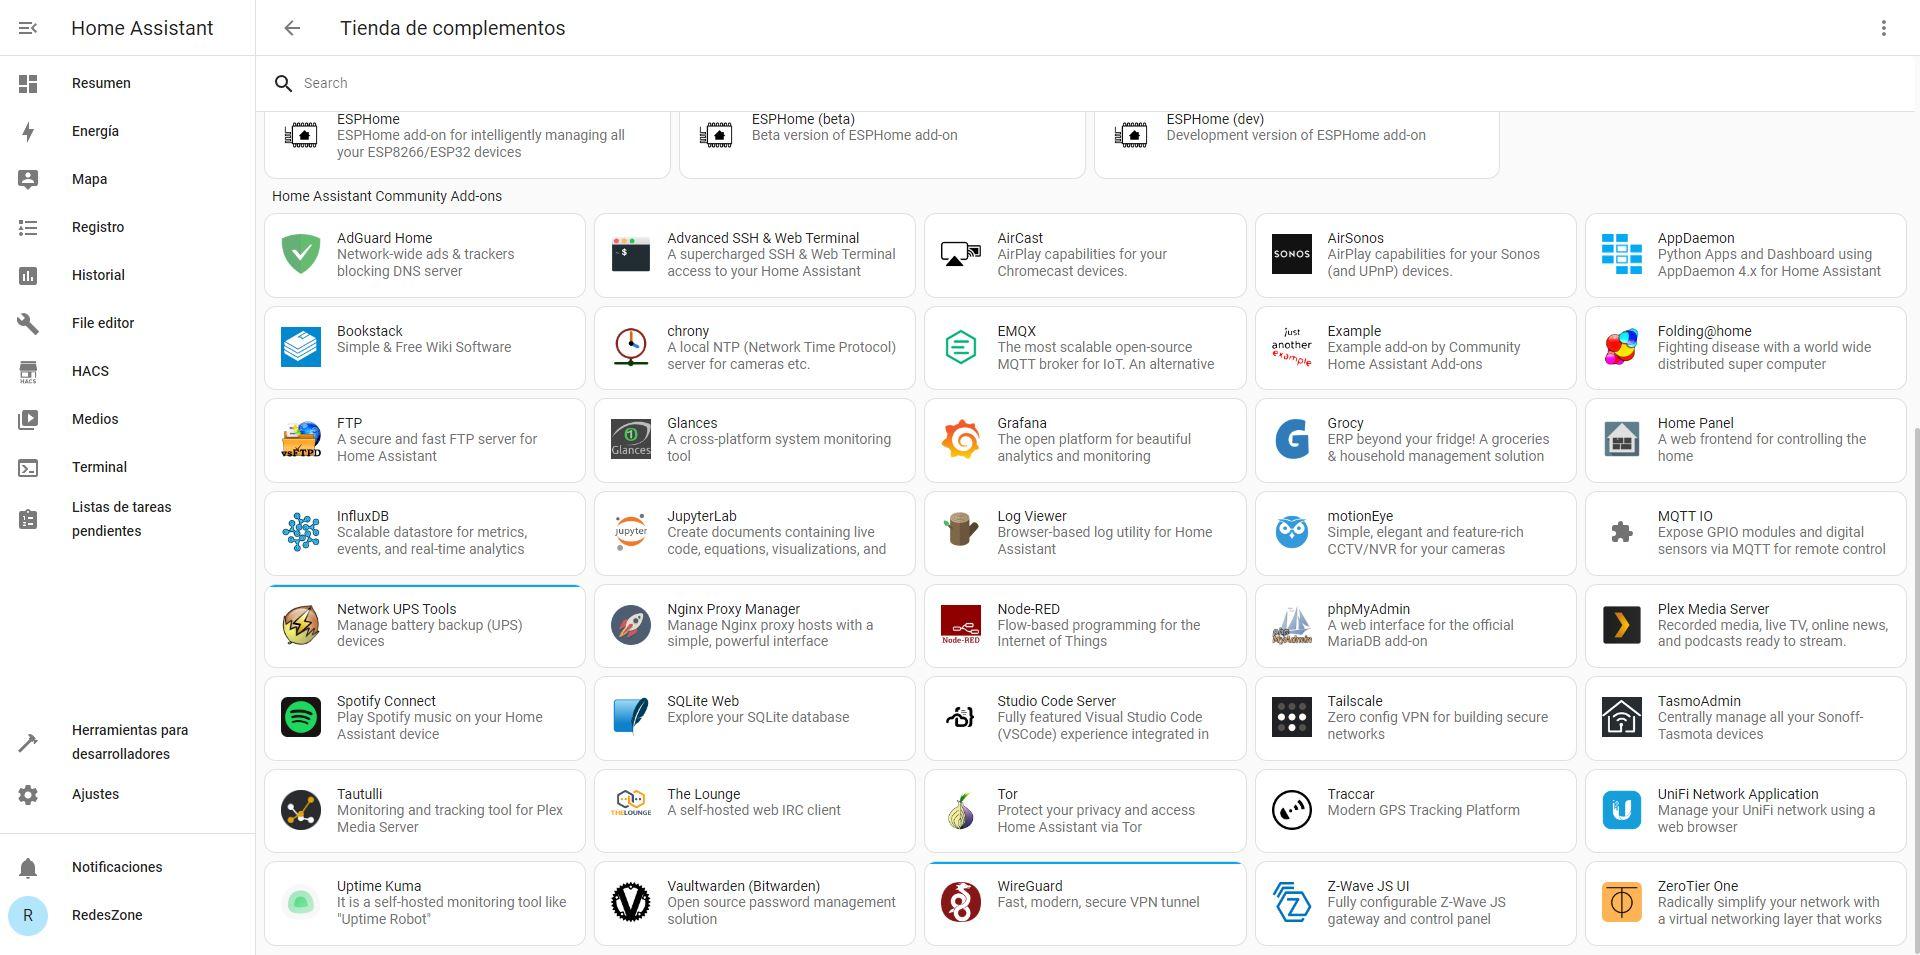
In the “Add-ons” section of the community, we can find ZeroTier to integrate it directly into the home automation system.
In the main menu we have the «Install«, we proceed to click on this button to install the software.
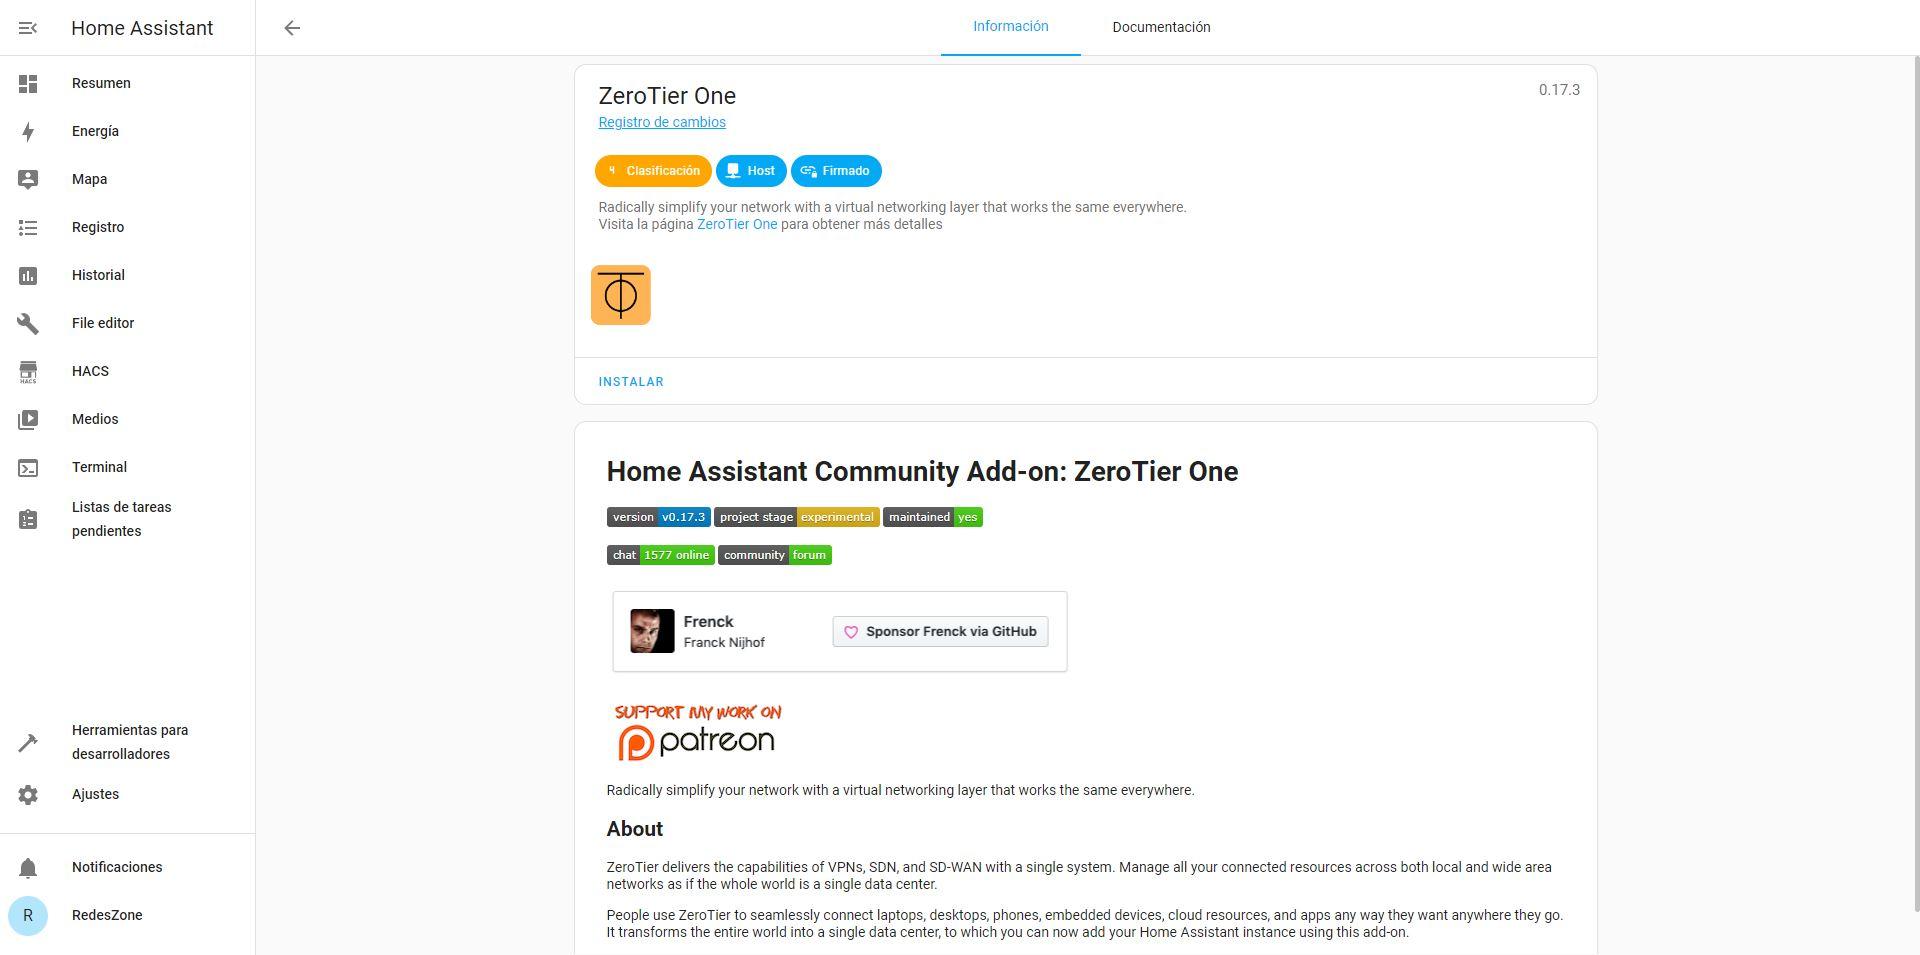
In the «Documentation» We can see a small guide on how to install and configure it, the truth is that it is very well explained, and will allow us to make the most of all the options available in the client.

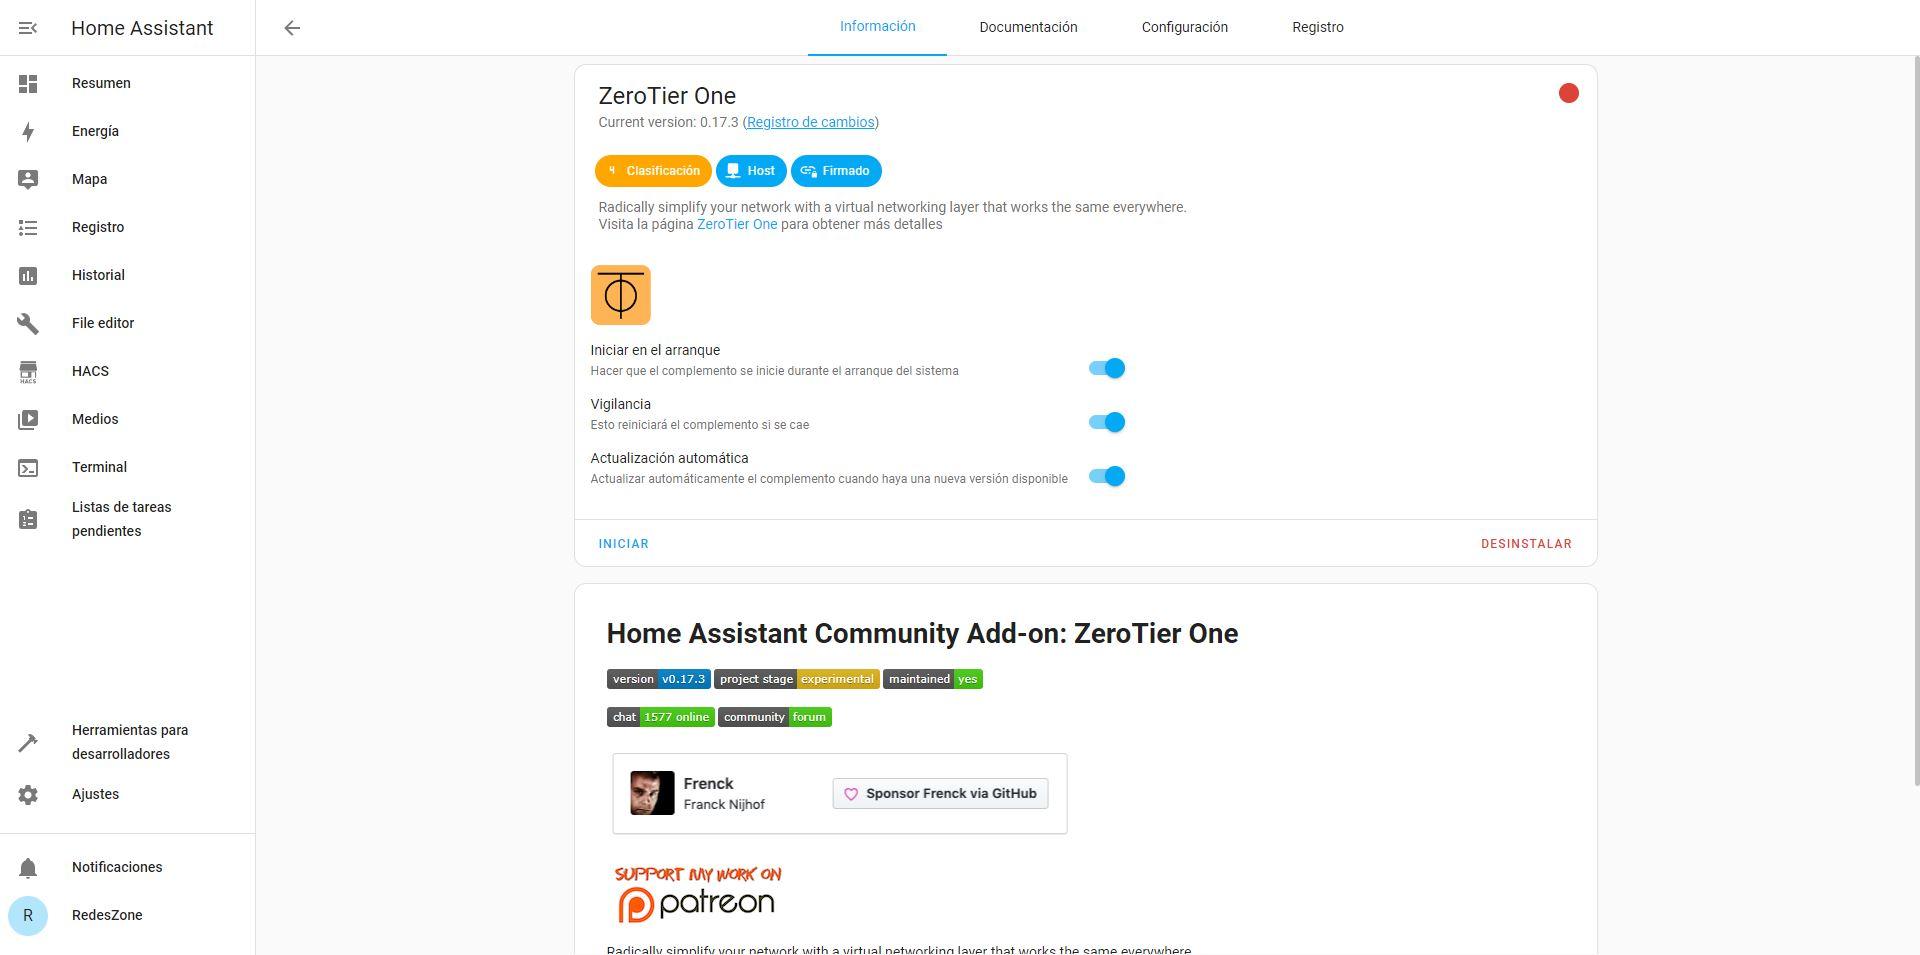
Once installed, we select the “Start at startup, Surveillance and Automatic Update” options. Before clicking on “Start” we must configure it, to do this we go to the “Setting» to proceed to put it into the network.
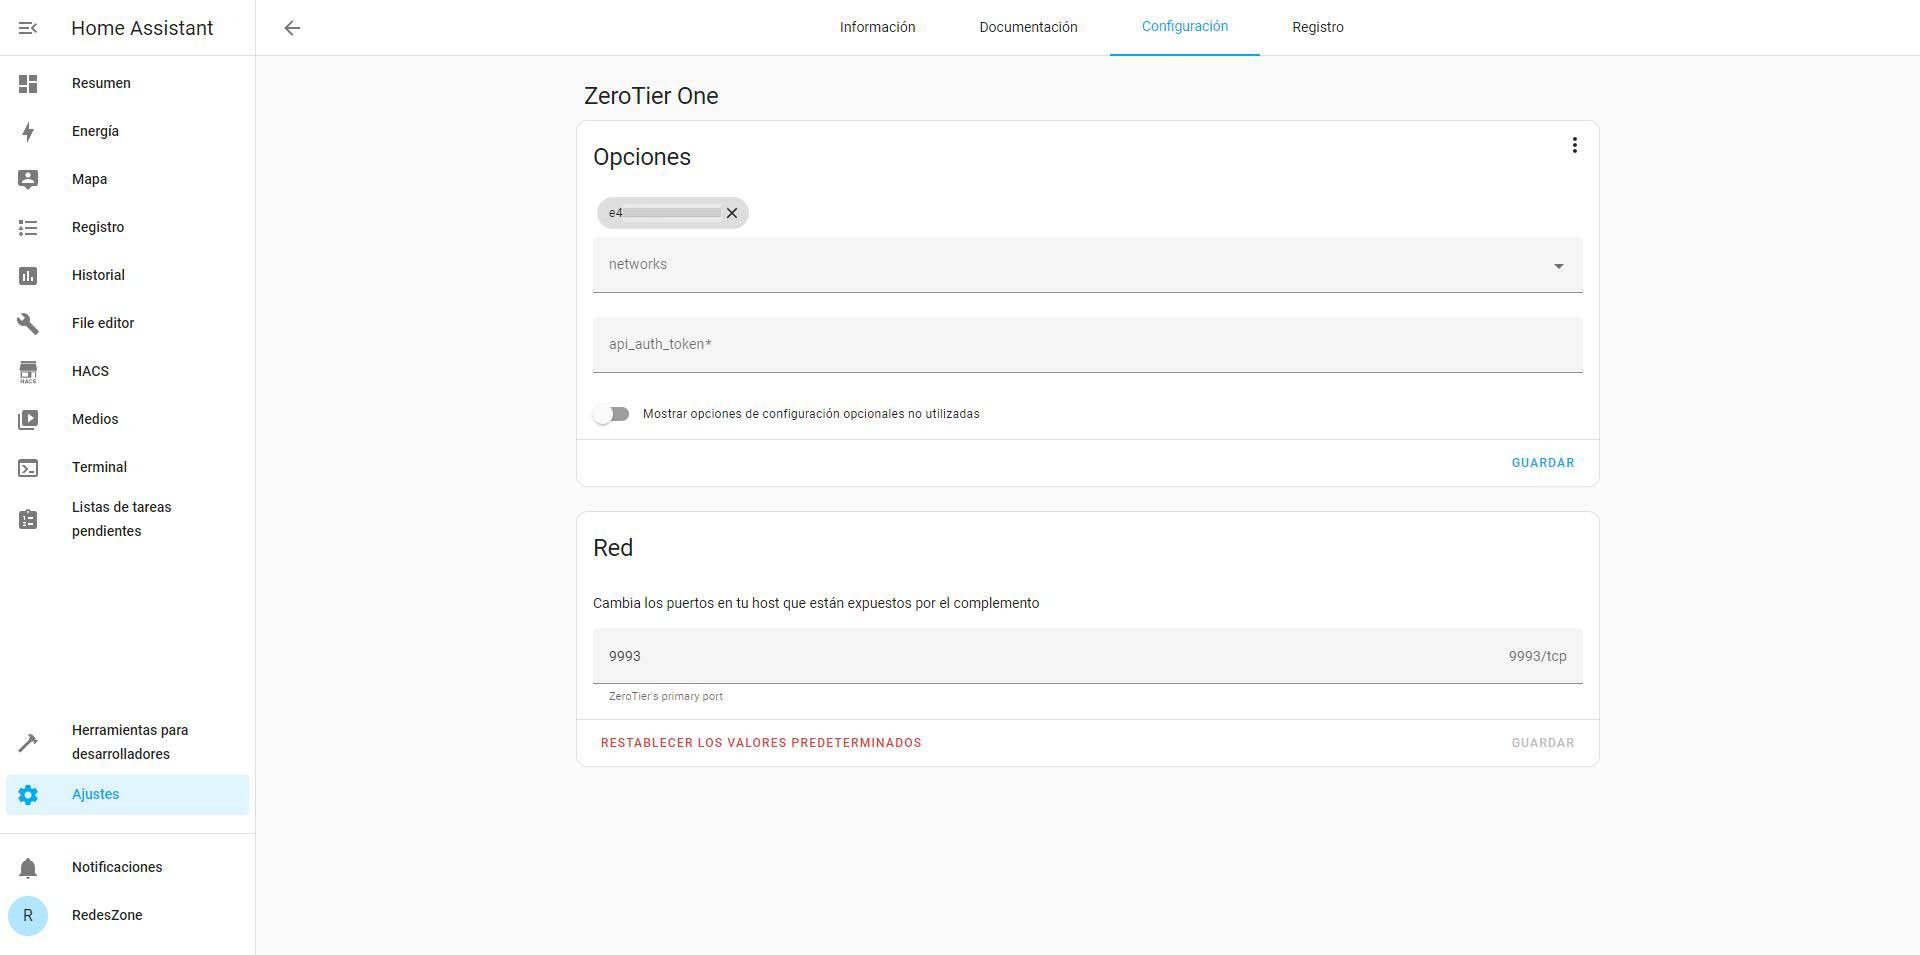
In the «Setting“, in the section of “Options / networks» is where we have to enter the «Network ID» that ZeroTier provides us. We do not have to make any further configuration, we can leave the rest of the options as they are.
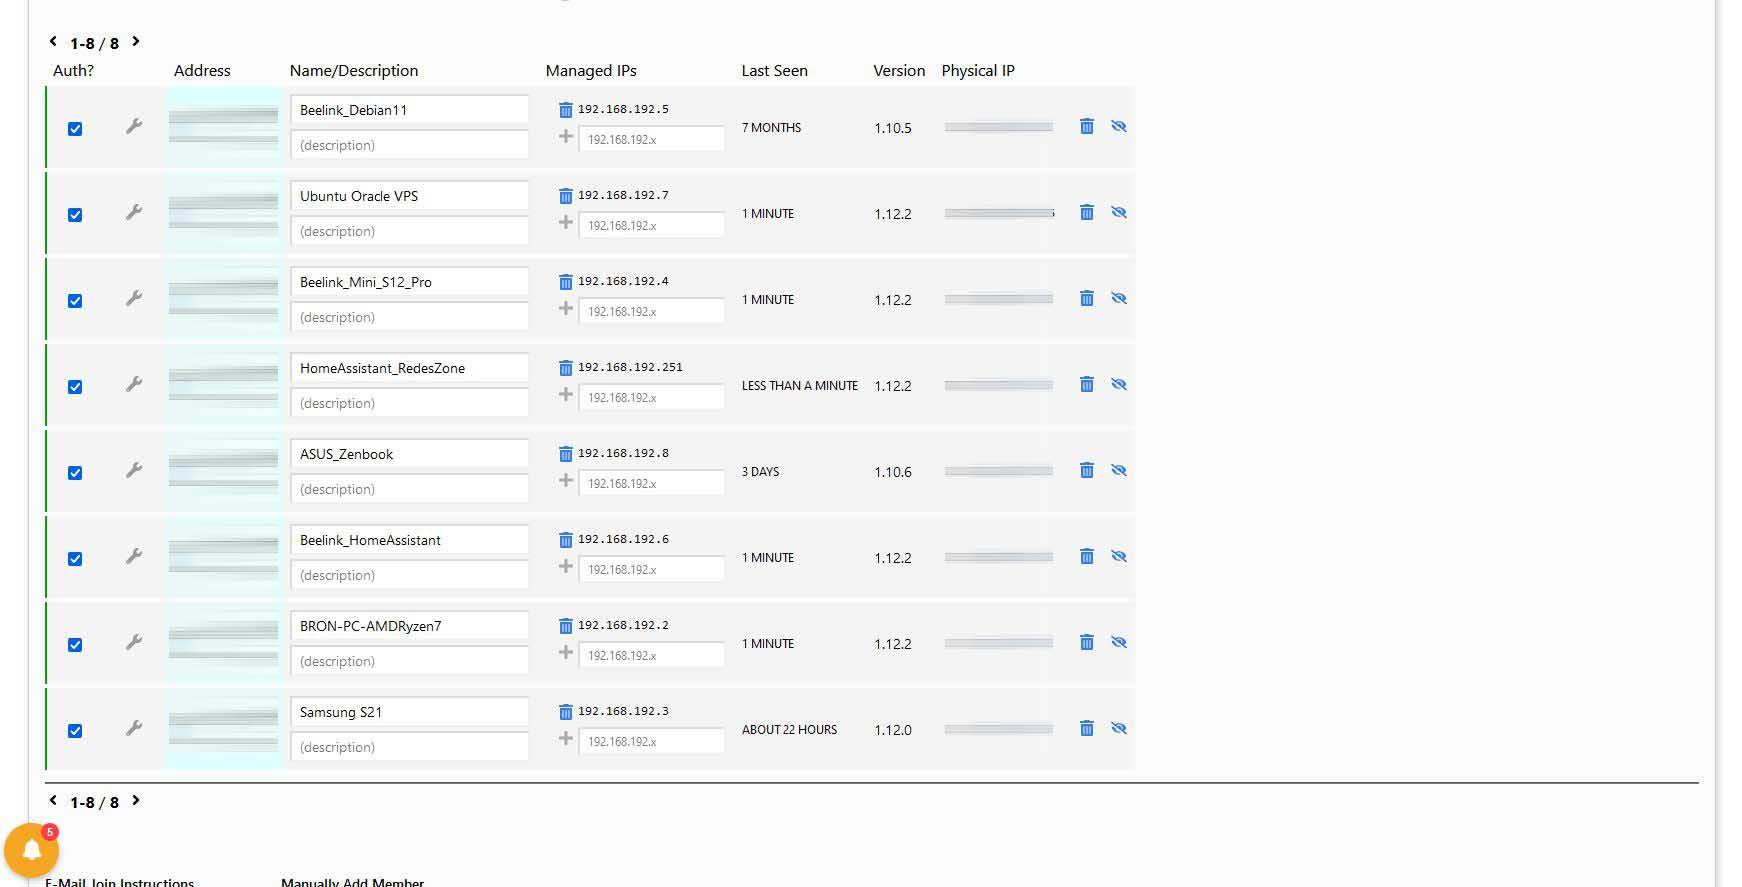
Now a new device will appear on the official ZeroTier website, we have to Click on “Auth?” to authorize access, then we put an identifying name and a description. We could also provide you with the IP address that we want.
After authorizing access, you will have successfully registered and will be ready to access it through the ZeroTier network that we have configured.
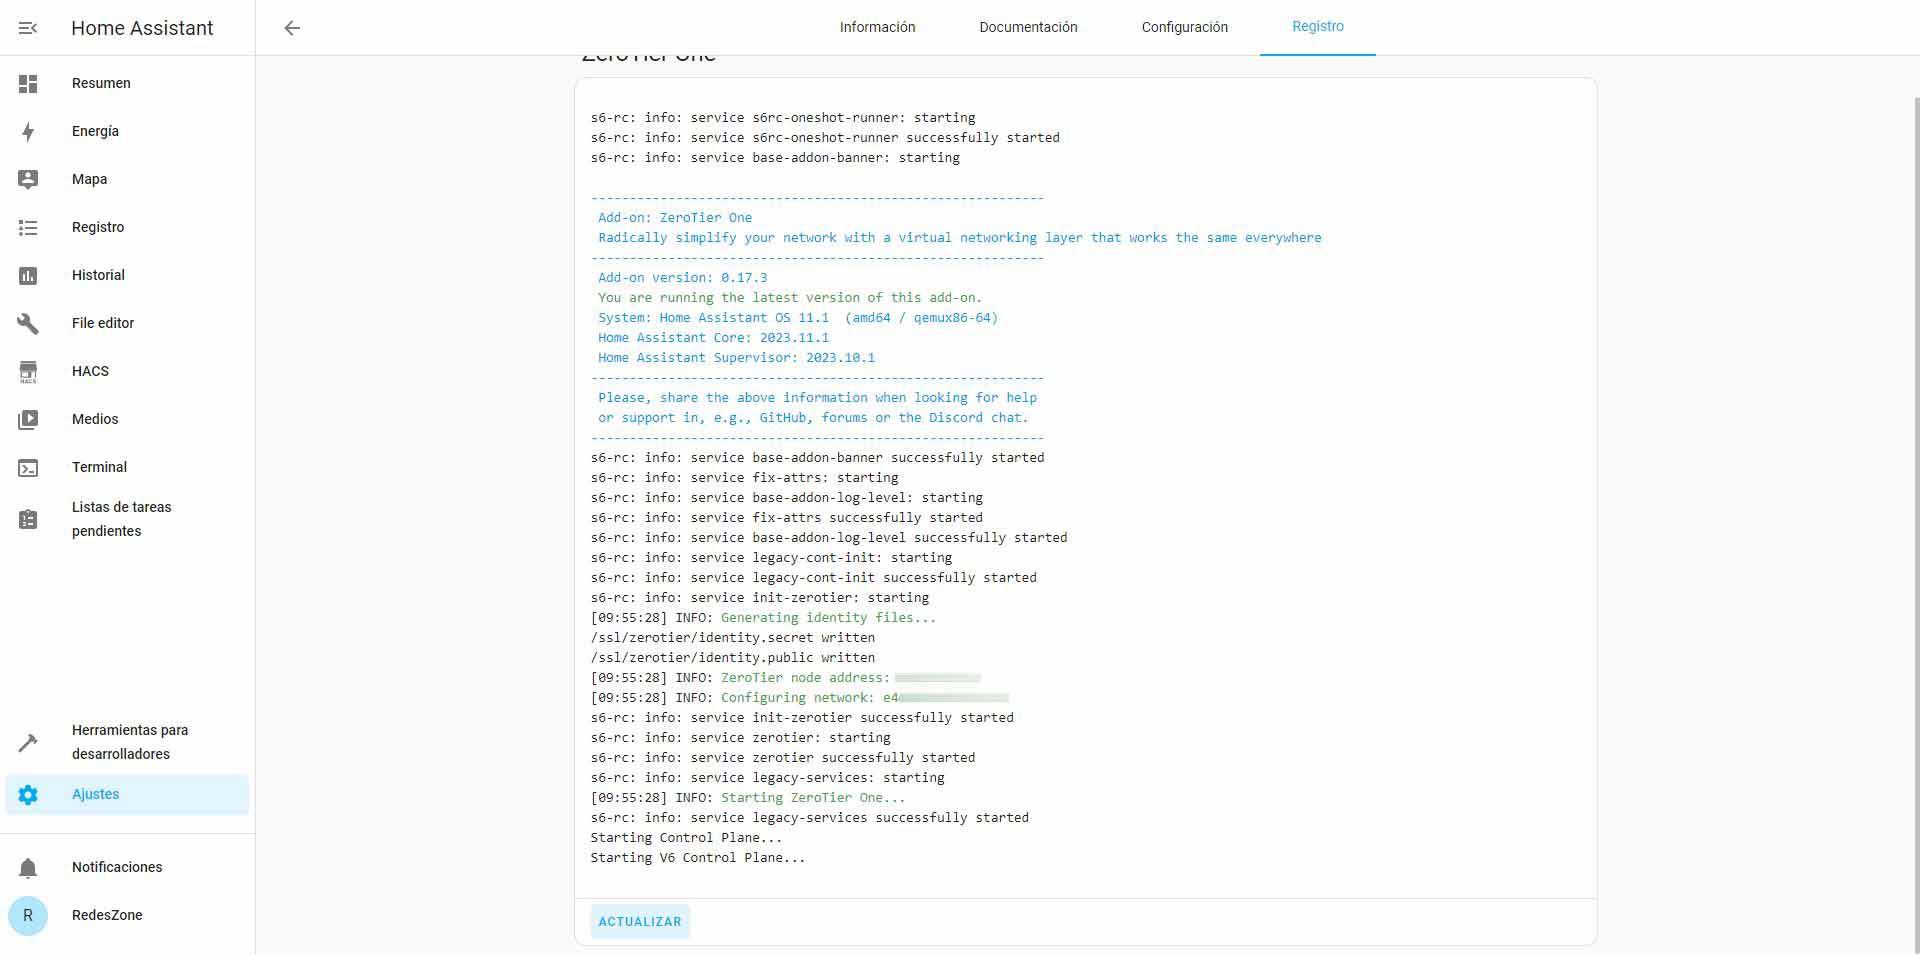
If we go to the «Record» from Home Assistant we can see that it has been connected correctly and everything works well.
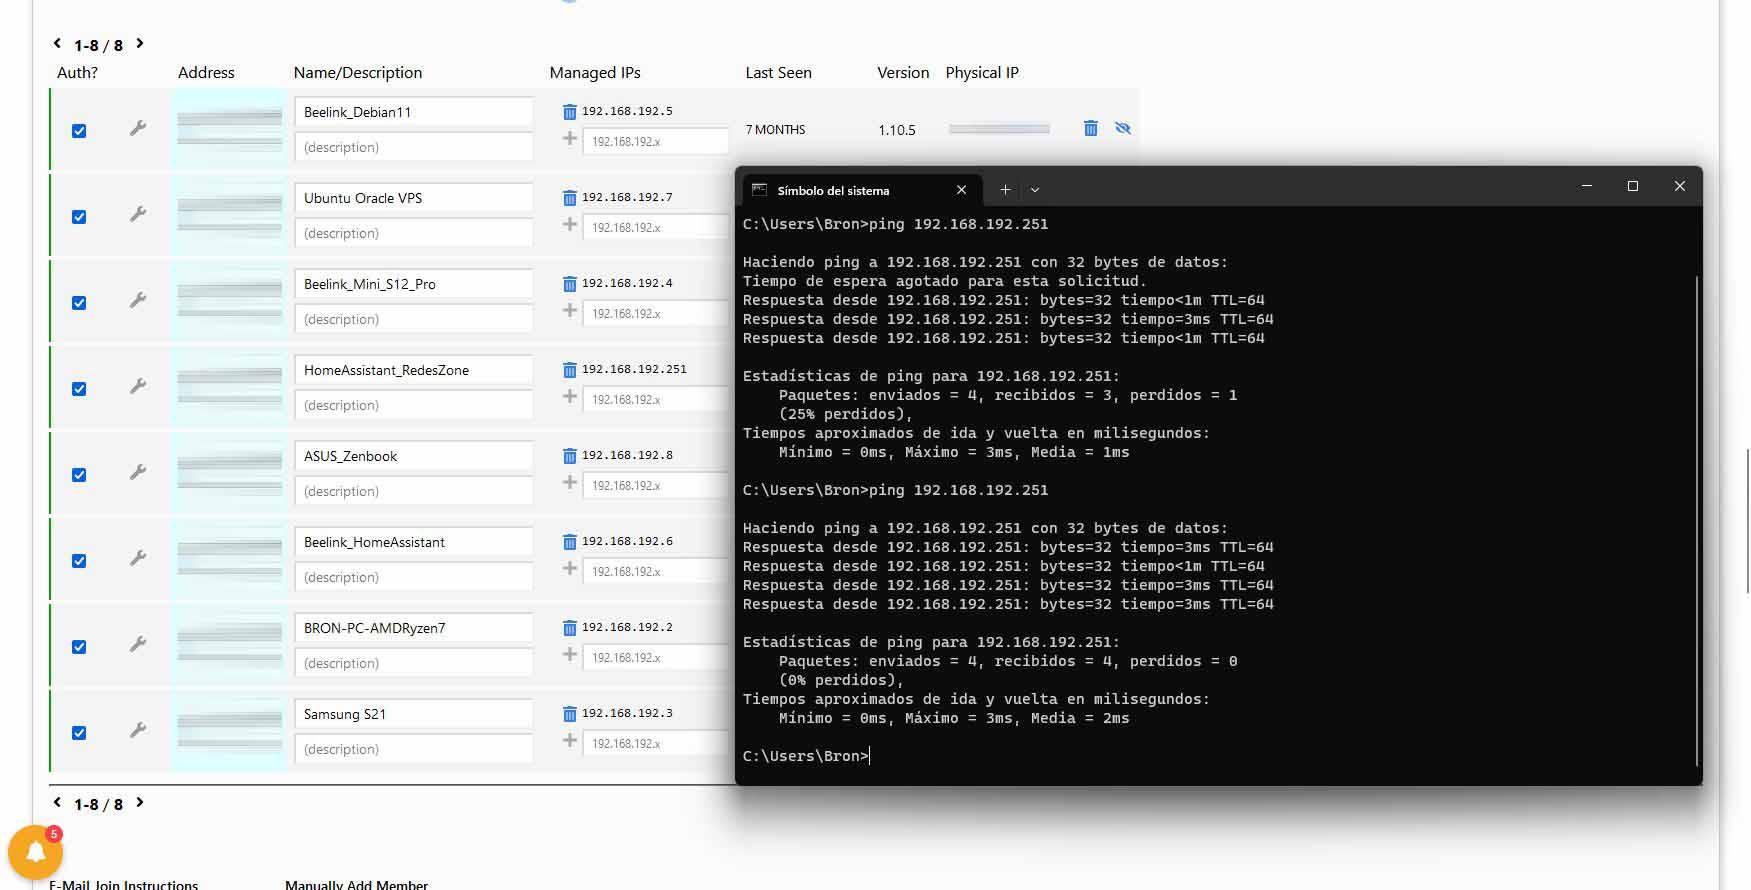
If we do a quick test with our PC that is also on the previously created network, we can ping directly to the private IP address assigned by the service, and it will work perfectly.
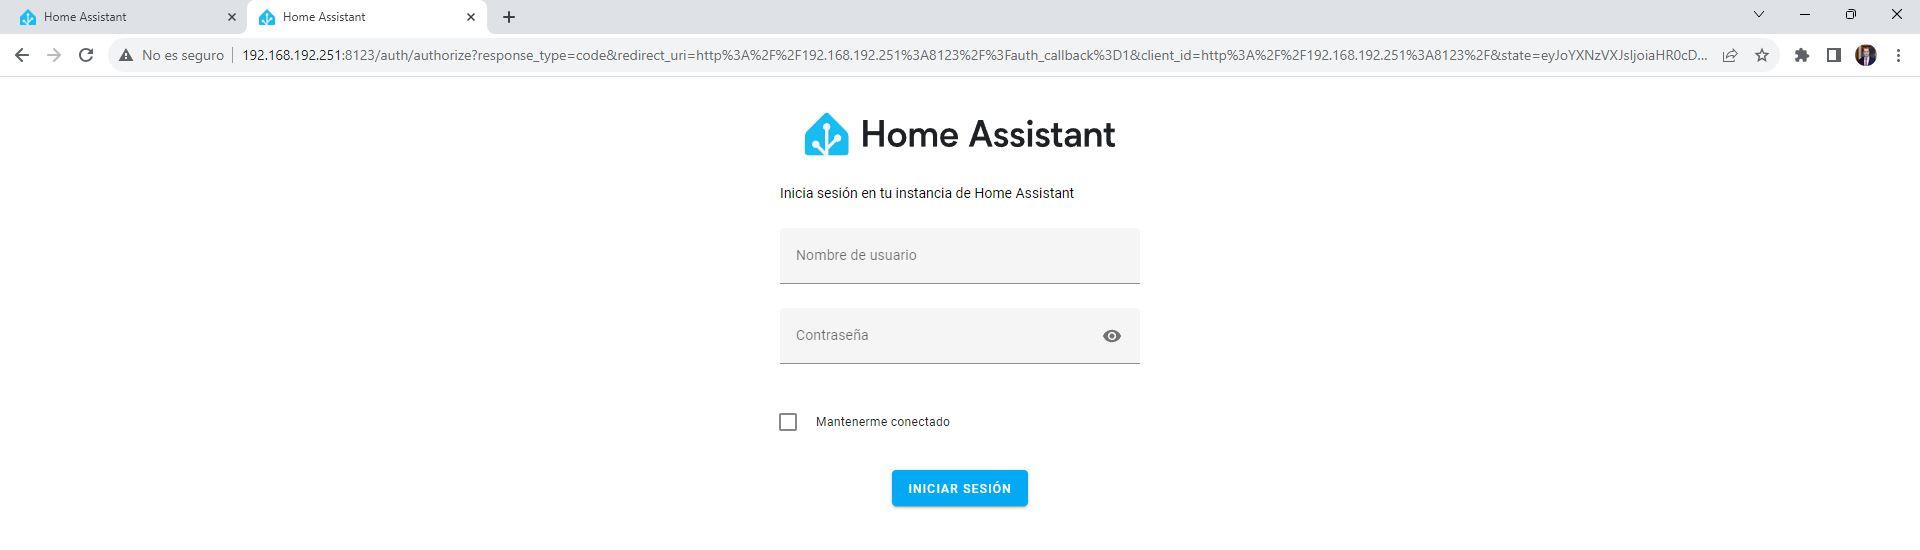
If we enter via the web to that ZeroTier IP address and the default port 8123, we will have direct access to the home automation system administration website. Keep in mind that, even though it is HTTP, all connections within the VPN network are completely encrypted, so there is no security problem.
As you have seen, the integration of ZeroTier into Home Assistant is very simple, the operation is very fast, and we will have transversal NAT so that we do not need to have a public IP in our home, nor open any type of TCP or UDP port. Something we would like to add is that the connection latency is really low, and the graphical interface of the home automation system will load very quickly, perfect for having the best possible user experience.