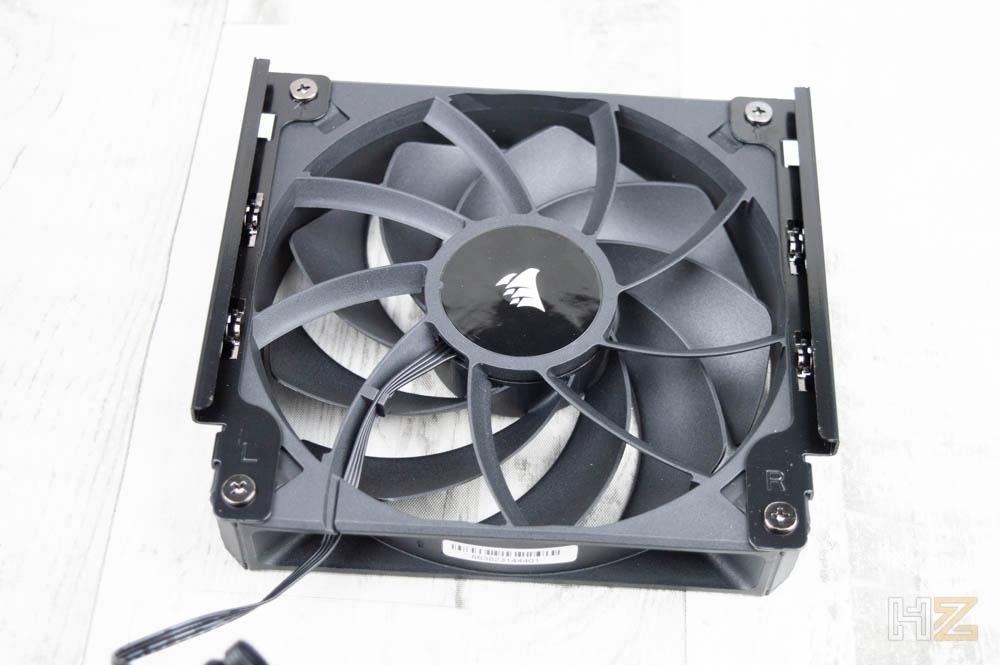
The manufacturer boasts of its innovative fan mounting system using rails, so that it is much easier to put them on and take them off since it will only be necessary to pull them vertically. In addition, they also indicate that the heatsink comes with thermal paste Corsair XTM70 pre-applied so we don't have to worry about anything.
Finally, it should be noted that it is a heatsink with really large dimensions, but despite this its height is “only” 164.8 mm, so it should be compatible with most PC cases… as long as the size of the RAM memory allows it and you do not have to lift one of the fans to make it fit. Then we'll see.
Unboxing and external analysis
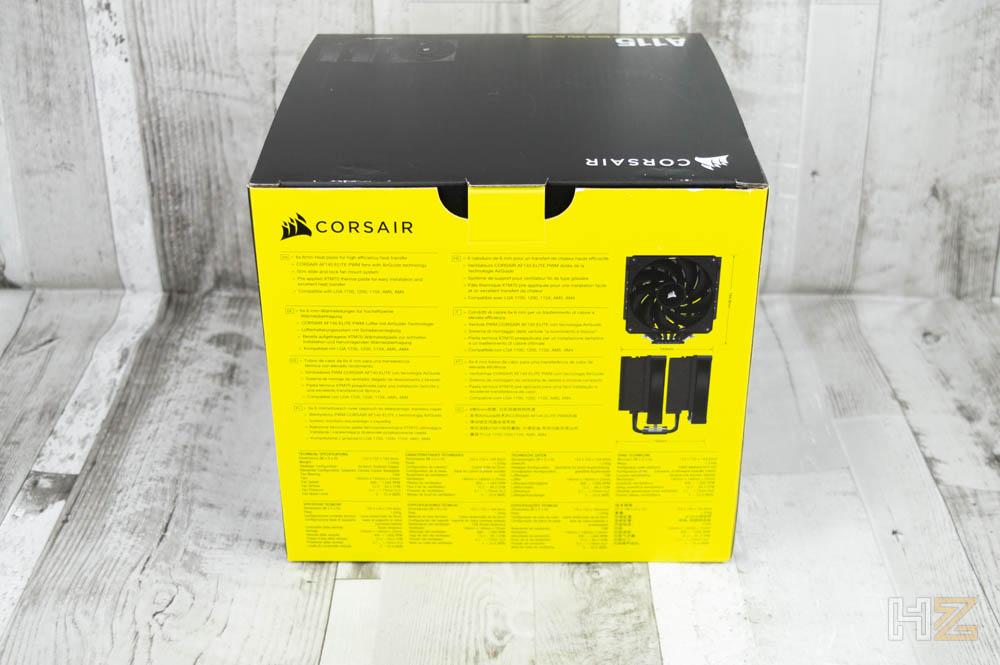
As is common in practically all products of this brand, the Corsair A115 comes packed in a semi-rigid cardboard box decorated with black and yellow colors. On the front we can see the brand, model and an image of the heatsink, while on the opposite side we have a sketch of the device along with its characteristics.
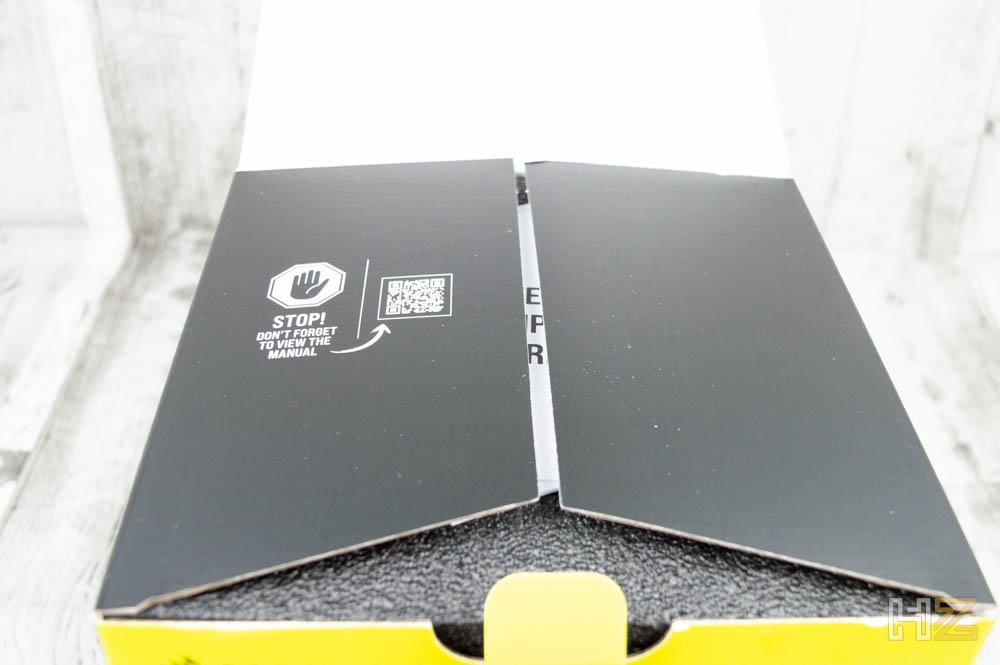
When we open the top part of the packaging we find a QR code on the tabs that will take us to the instruction manual on the manufacturer's website.
Inside we find a couple of informative pamphlets and a cardboard structure in which the heatsink and accessories are enclosed.

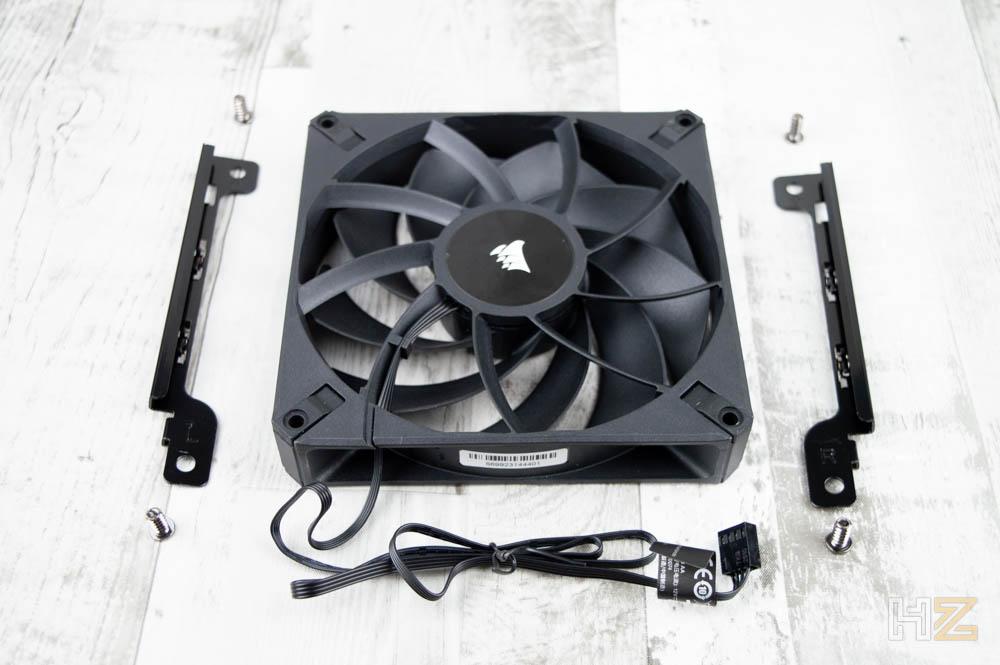
As you can see two side boxes, one of them with the mounting accessories and another with one of the two included fans, so let's start by looking at this one. This is a Corsair AF140 Elite, a fan that we have already seen previously in other reviews and that is proven effective.
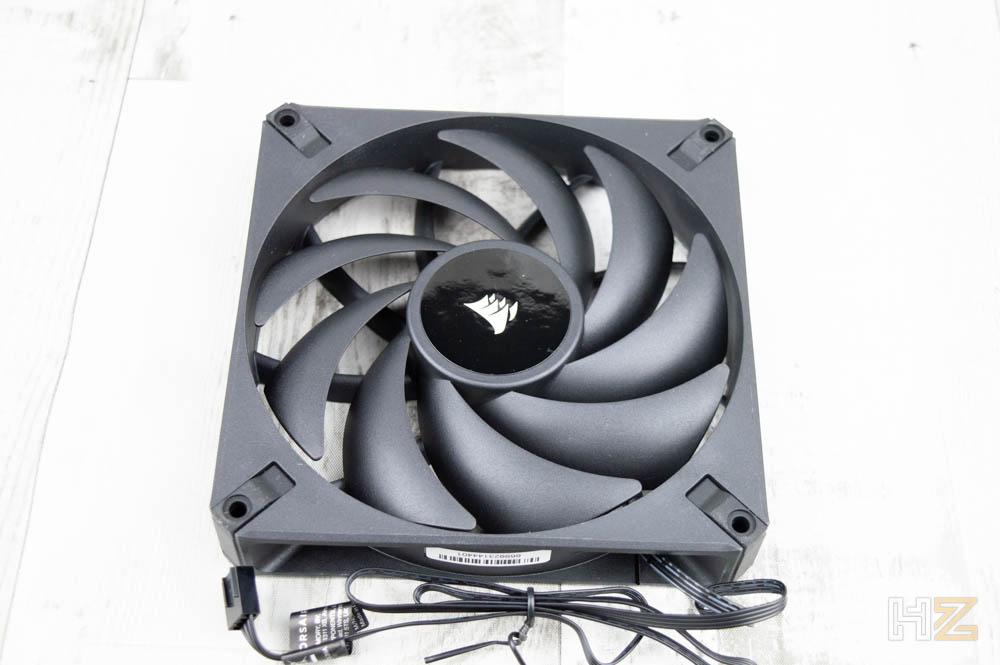
It has a total of 9 blades that are quite inclined to generate a lot of static pressure, it has rubber inserts in all the anchoring points and its connector is 4-pin PWM.
Inside the other box we have the heatsink mounting accessories, distributed in paper bags clearly identified with labels. It must be said that, although paper has been used instead of plastic for environmental reasons, they are quite uncomfortable to open and handle because they tend to break when you peel off the adhesive to access what is inside.

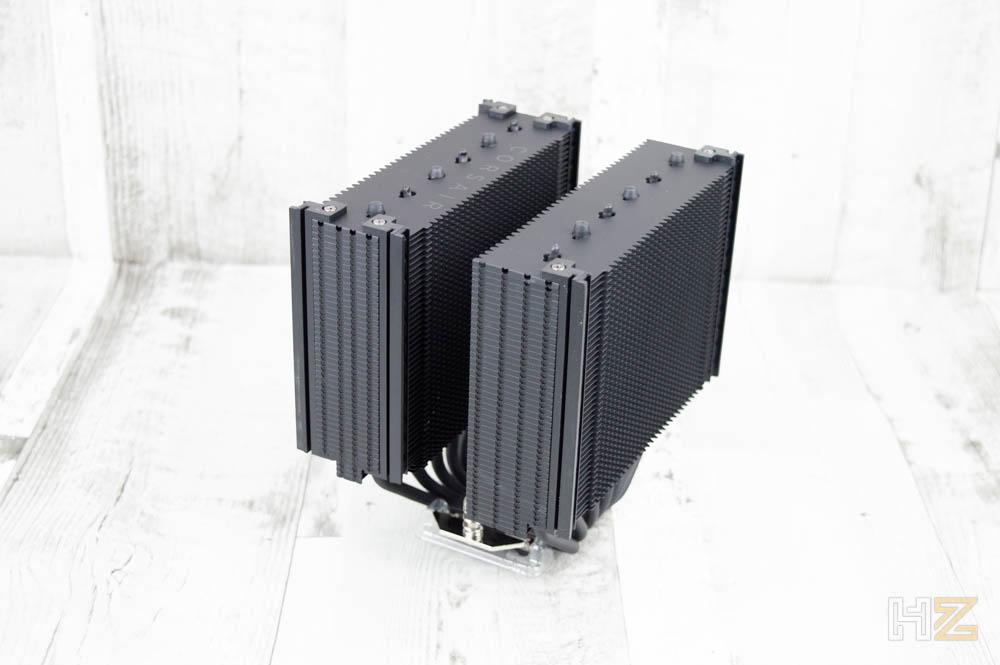
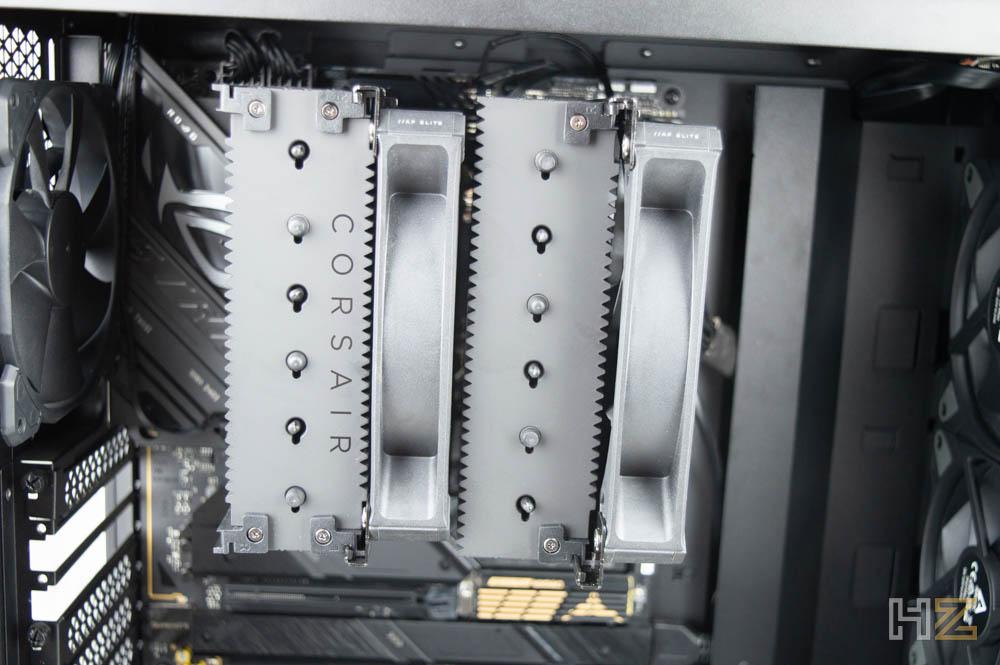
We will then look at the mounting accessories in detail in the next section, but in the meantime here is the Corsair A115 as it comes in the box, with only the internal fan mounted.

It is a large and heavy heatsink, so to show you well we are going to remove the internal fan that comes mounted on a rail structure that makes putting it in and out as easy as pulling it up.
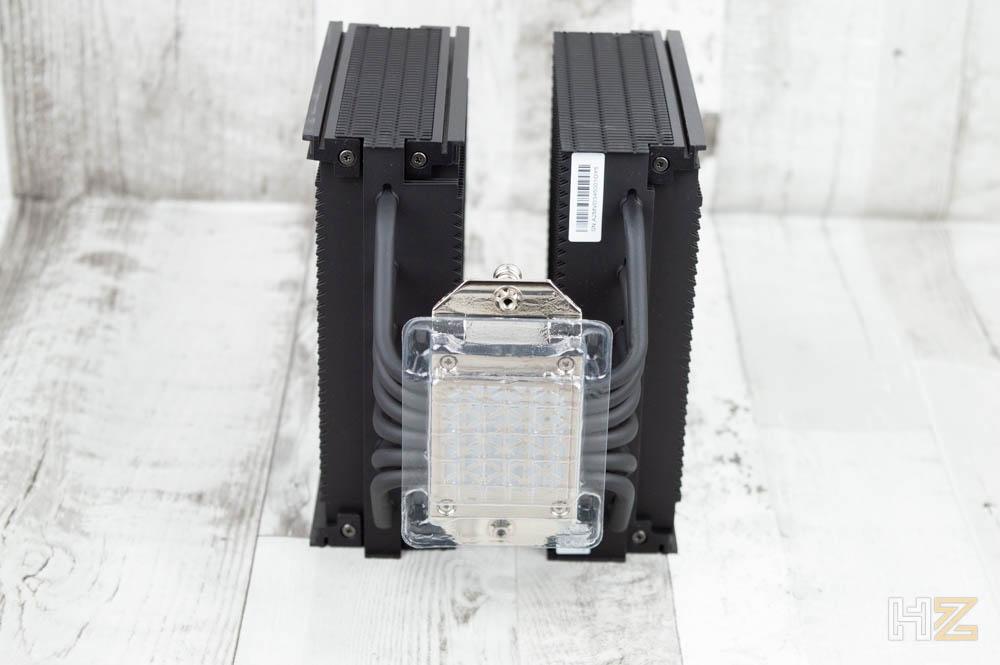
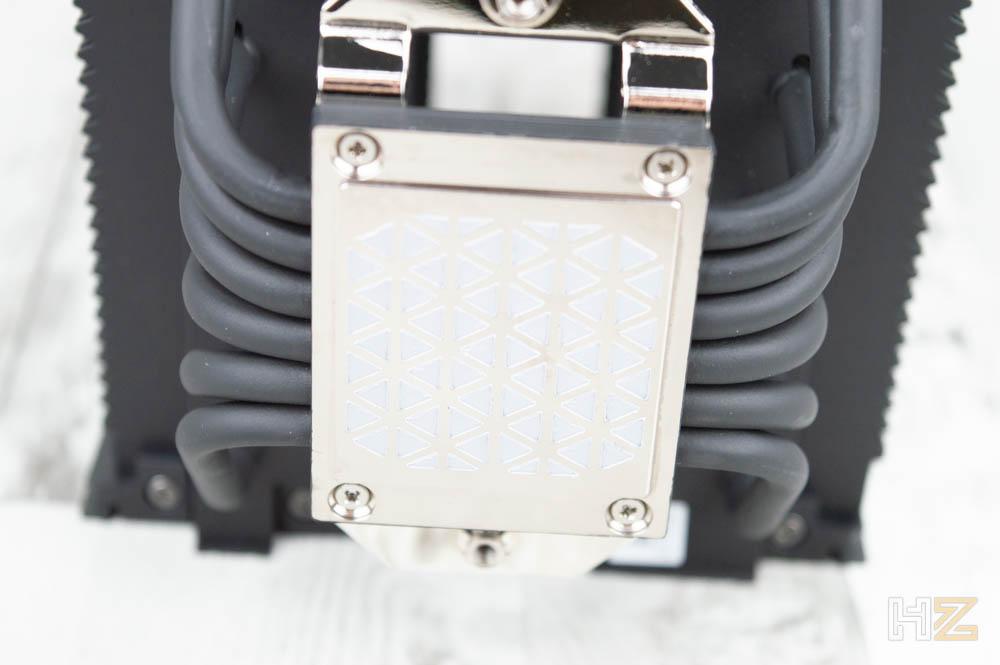
Now, here is the naked heatsink, with its double tower design. It is made up of six 6 mm diameter heat pipes and two towers of 90 nickel-plated aluminum sheets, all painted black.
If it weren't for the fact that it comes from the factory with the rails already mounted, it would be completely symmetrical, so it wouldn't matter which way you mount it.
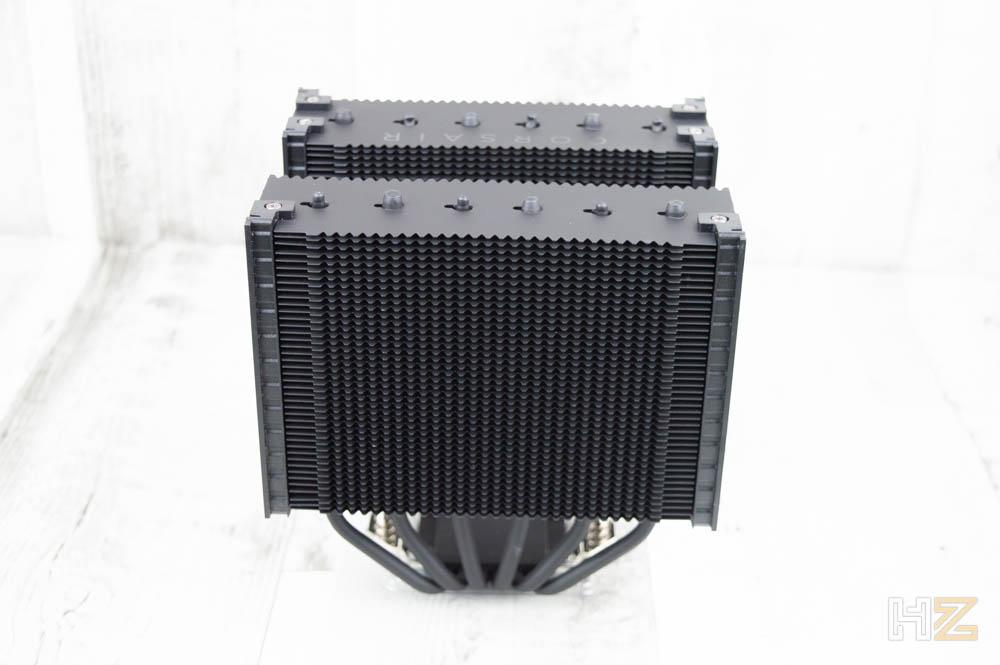
At the top, the manufacturer's name breaks the symmetry a bit because it is only on one of the two towers.
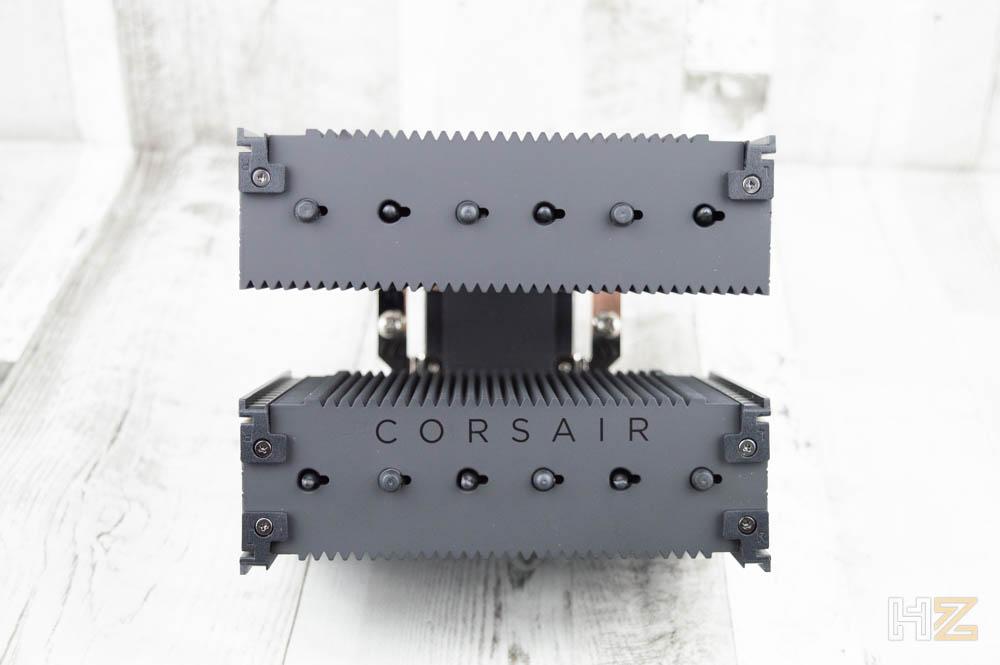
The anchoring system comes already pre-mounted on the base of the heatsink, something that is good because it is the same for both Intel and AMD systems.
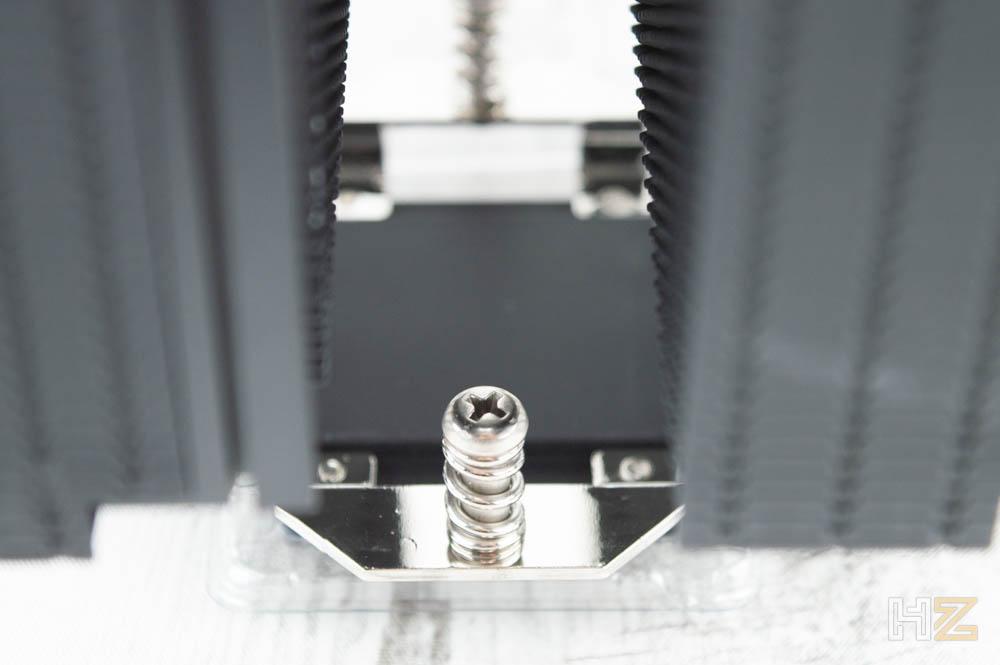
The base is made of nickel-plated copper with a semi-mirror effect, which does not look very good because it comes from the factory with pre-applied thermal paste.
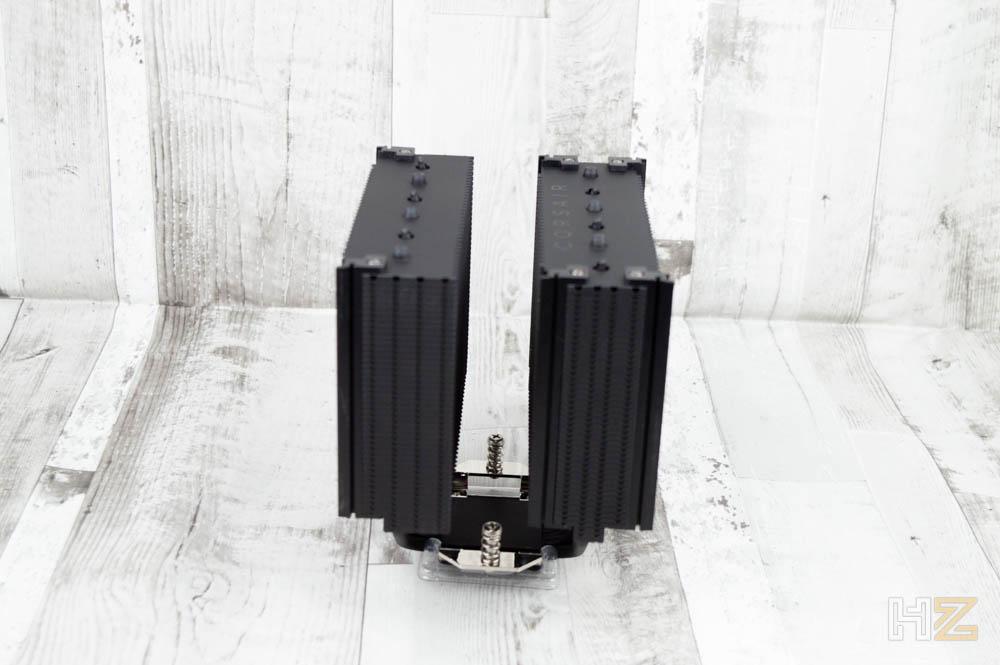
At the bottom of both towers we have a “cutout”. Generally this would not be necessary because on AM5 and LGA1700 platforms the heatsink would not collide with the RAM, but if for whatever reason we were to mount this heatsink on a mini ITX board or in systems for example LGA2066 there would be problems, and with this is solved.
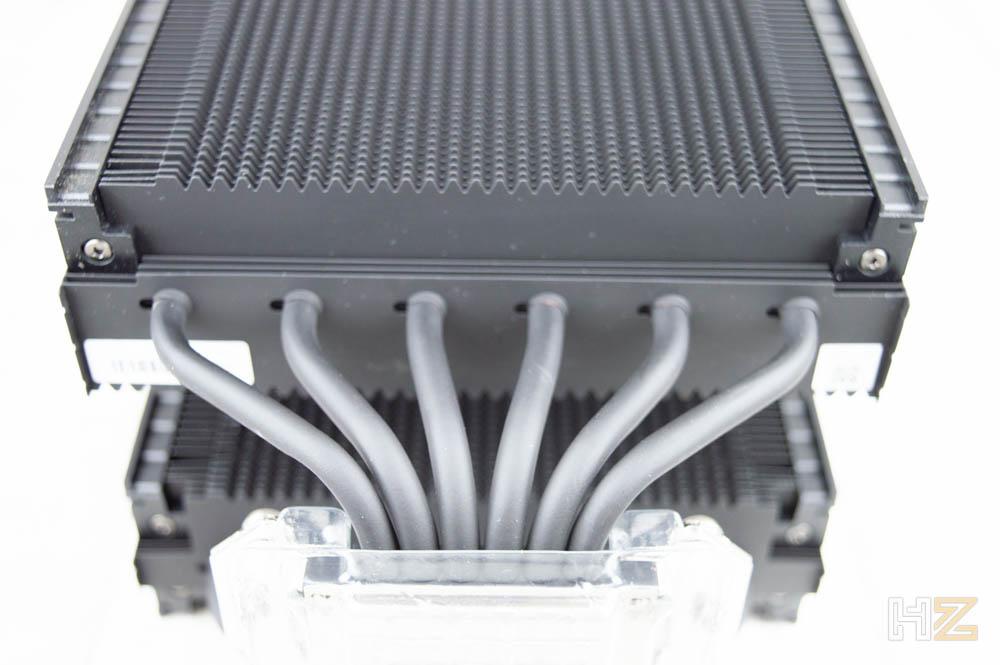
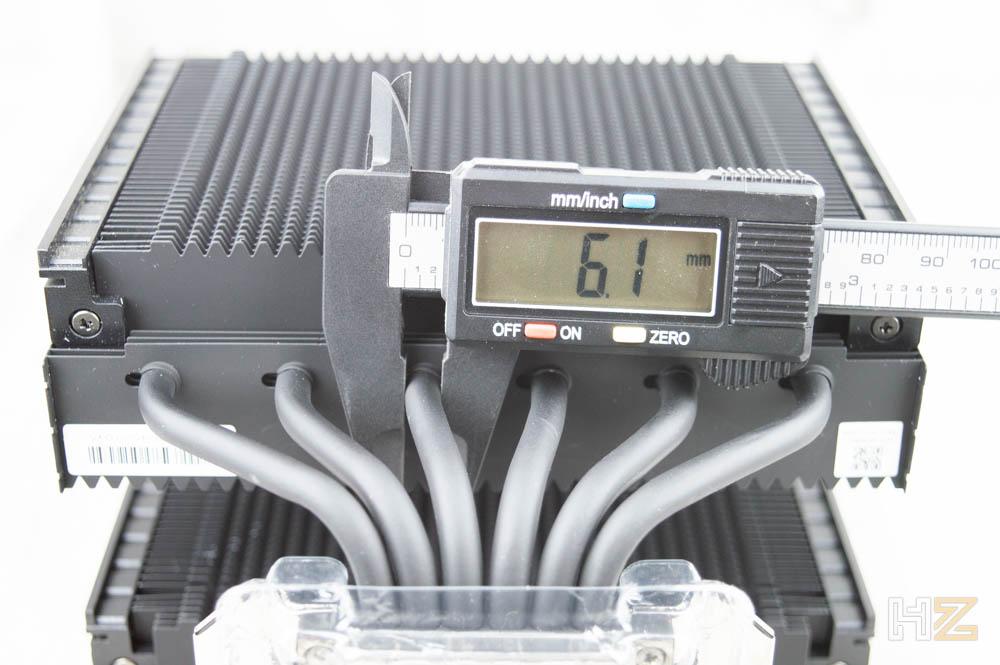
As the technical specifications said, the six heat pipes are 6 millimeters in diameter, even a little more, practically 6.1 mm.
The total depth of the Corsair A115 without the fans is 122.2 mm, while its width is 151 mm and its height is 149.6 mm without counting the base.
Having seen the heatsink, we are going to mount it on our test bench both to show you how to mount it and to test its performance.
How to assemble the Corsair A115
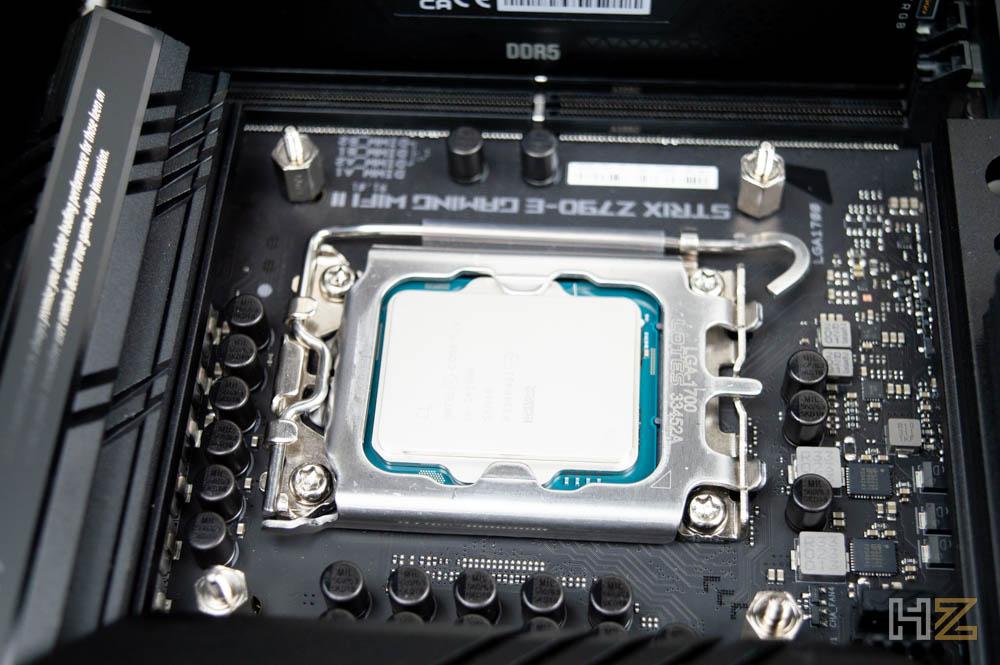
In our case, we are going to mount the Corsair A115 on our Intel test bench, that is, we will mount the heatsink on an ASUS ROG STRIX Z790-E Gaming WiFi II motherboard with an Intel Core i9-14900K processor, and we will use a Corsair case 4000D Airflow, midi format and medium size.
The first step is to select the accessories that we are going to use, all in their paper bags.
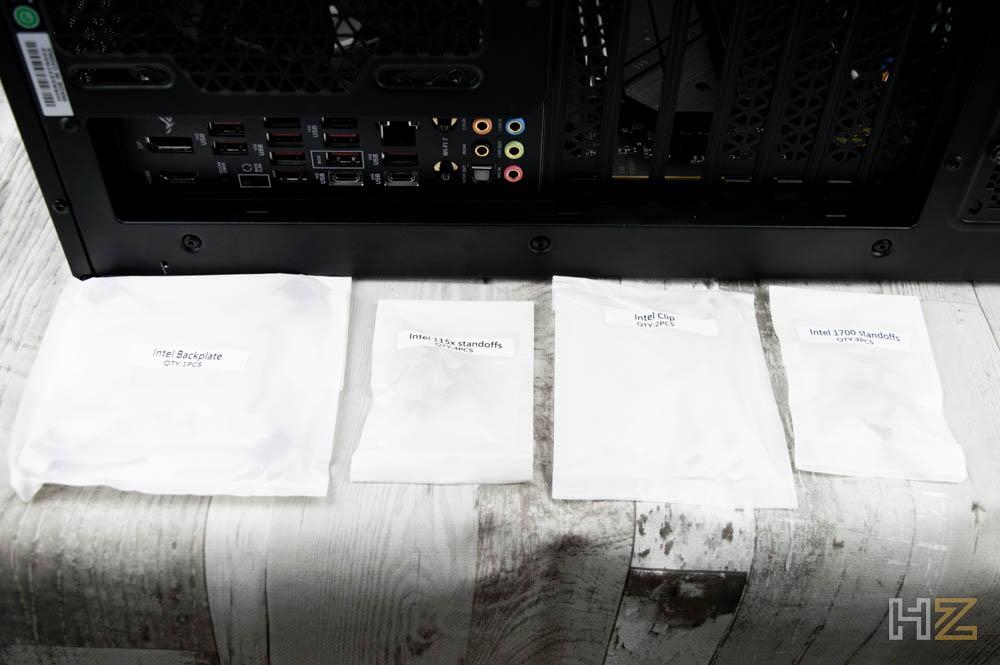
We prepare the backplate by moving the screws to the position that corresponds to the LGA1700 socket, which is the one we are going to use. These come already anchored to the backplate and you just have to move them to their correct position with your fingers.
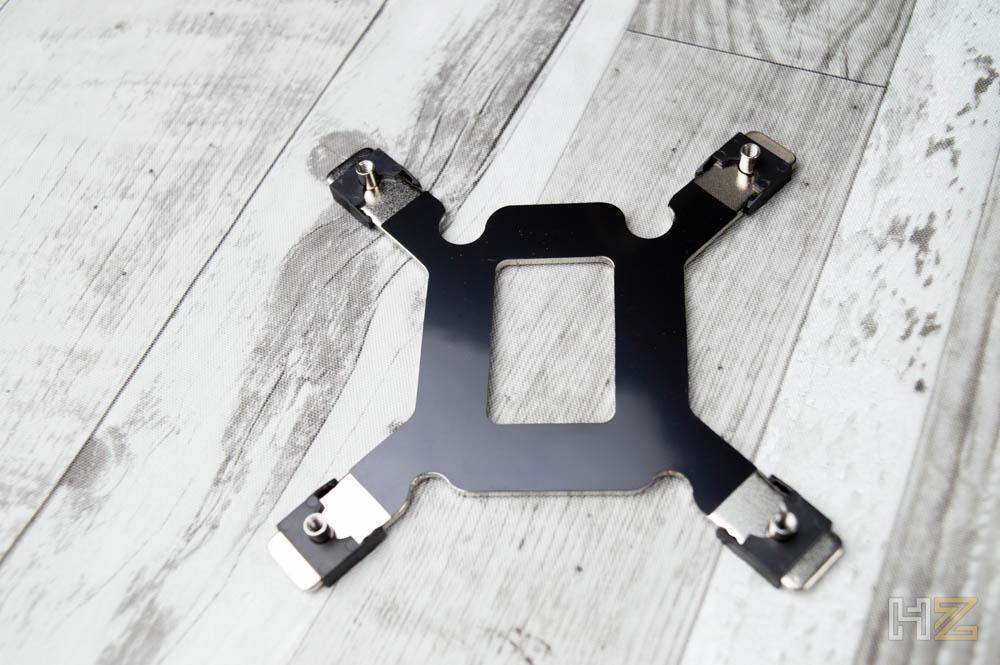
We place the backplate on the back of the socket and screw it with the corresponding anchors. They can be tightened perfectly with your fingers without the need for tools.
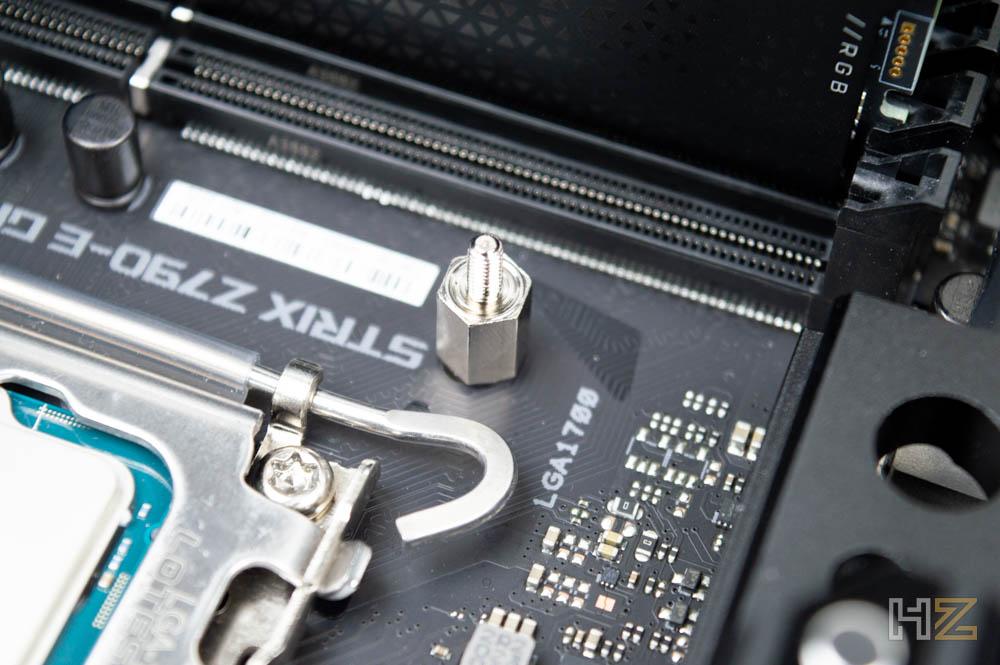
Now we place these metal pieces and screw them to the supports that we just installed. Be careful with this, because depending on the direction in which we place these two pieces, the heatsink will face backwards or upwards… the ideal is to install it as we have done so that it faces backwards.
Next, we can place the heatsink on top of the processor (it is not necessary to put thermal paste on it because, remember, it is already pre-applied) and tighten the screws. The recommendation is to tighten them little by little and alternately so as not to put too much pressure on one of the sides of the processor.
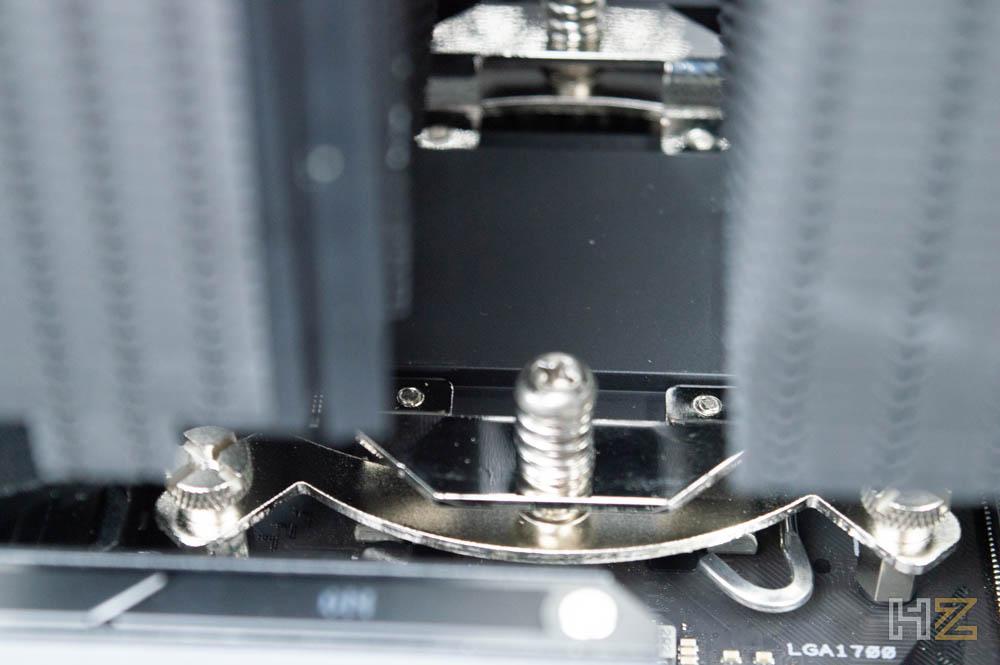
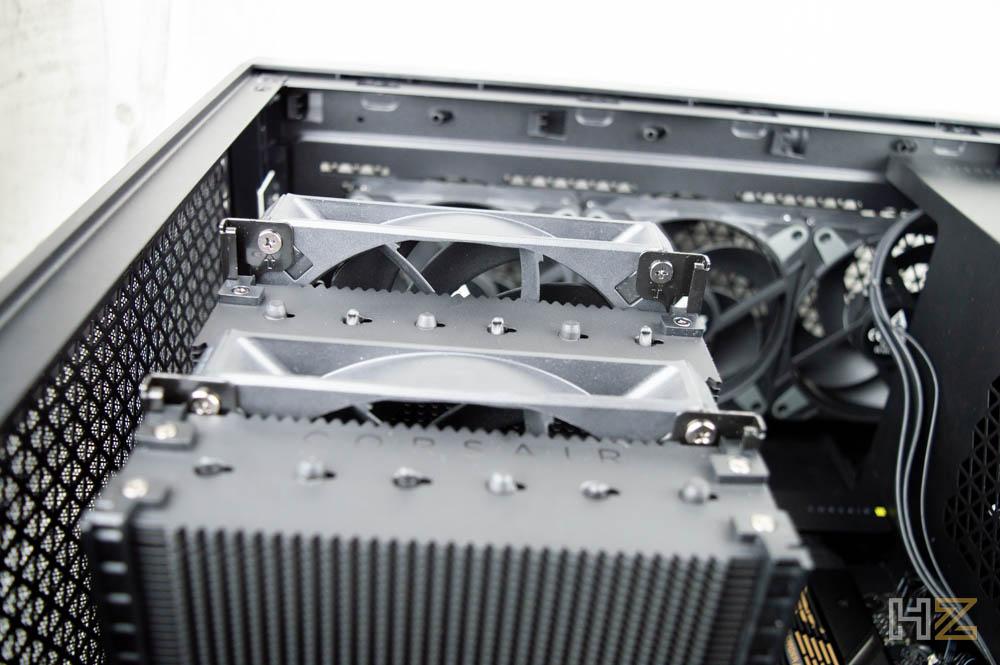
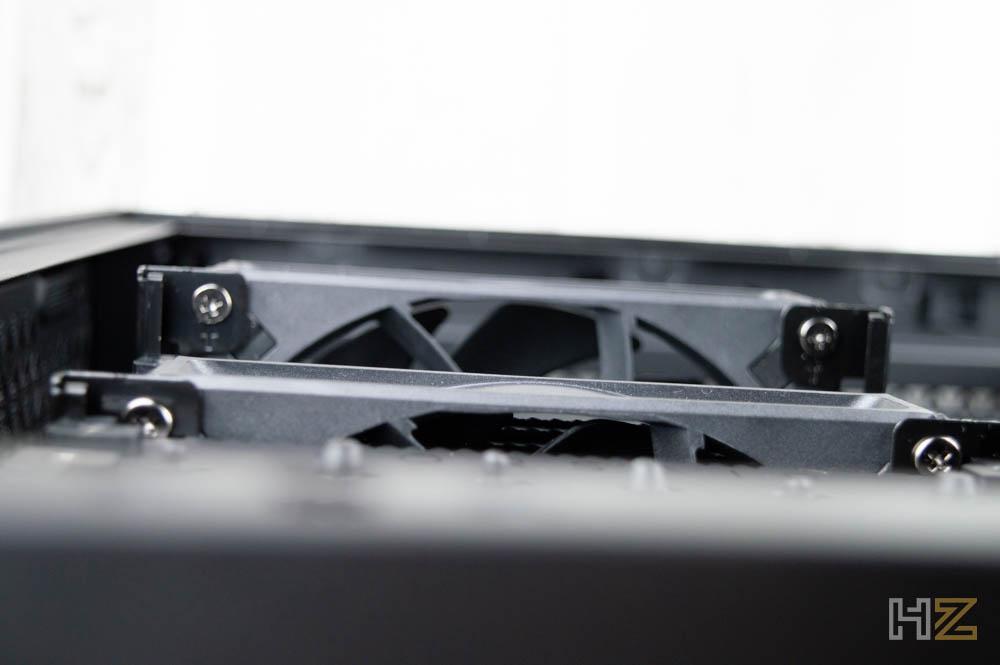
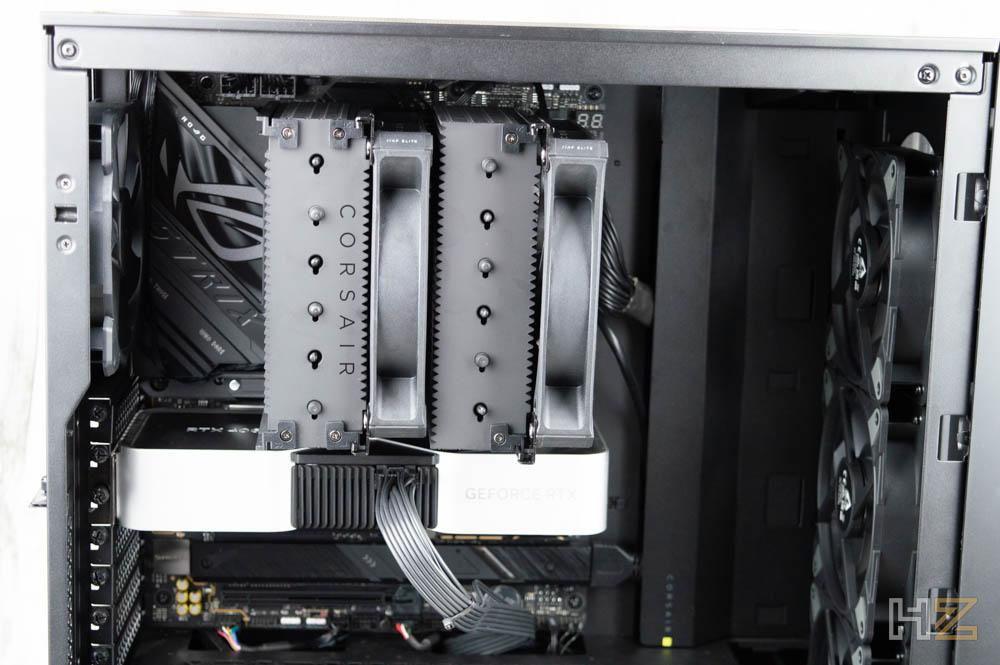
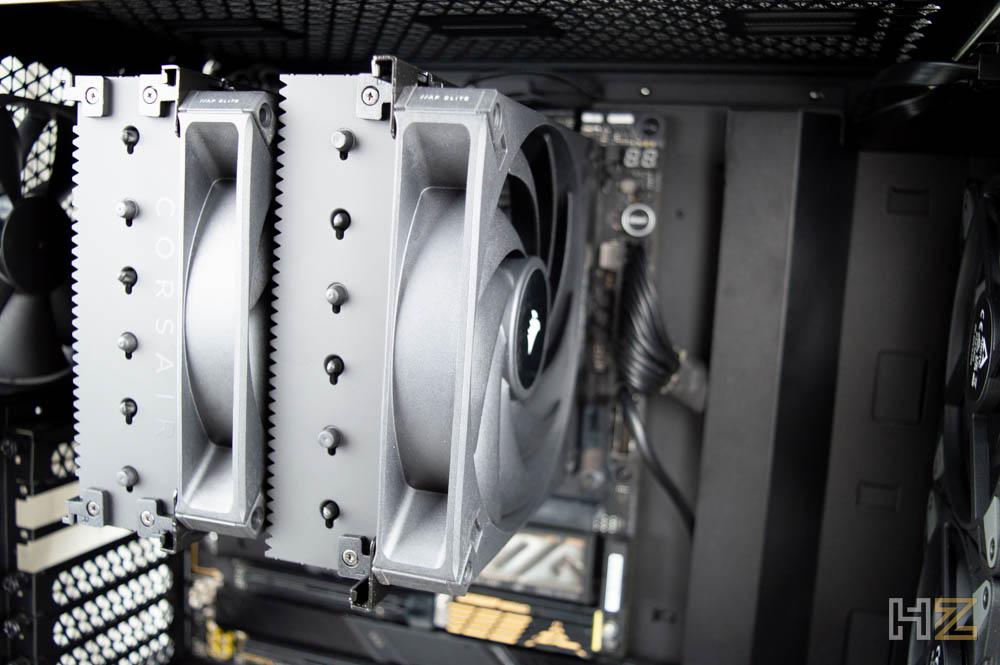
With this we now have the heatsink fixed, so we can proceed to mount the fans. But first, we are going to show you some shots of what the heatsink looks like without the fans installed; You can see that it is quite tight but it does not touch the RAM, and that in the same way, there is enough space in height to be able to close the box without problems.
For the central fan, which was already installed, we only have to slide it on its rails but for the one that did not come mounted we first have to screw in the ones that came in the accessories.
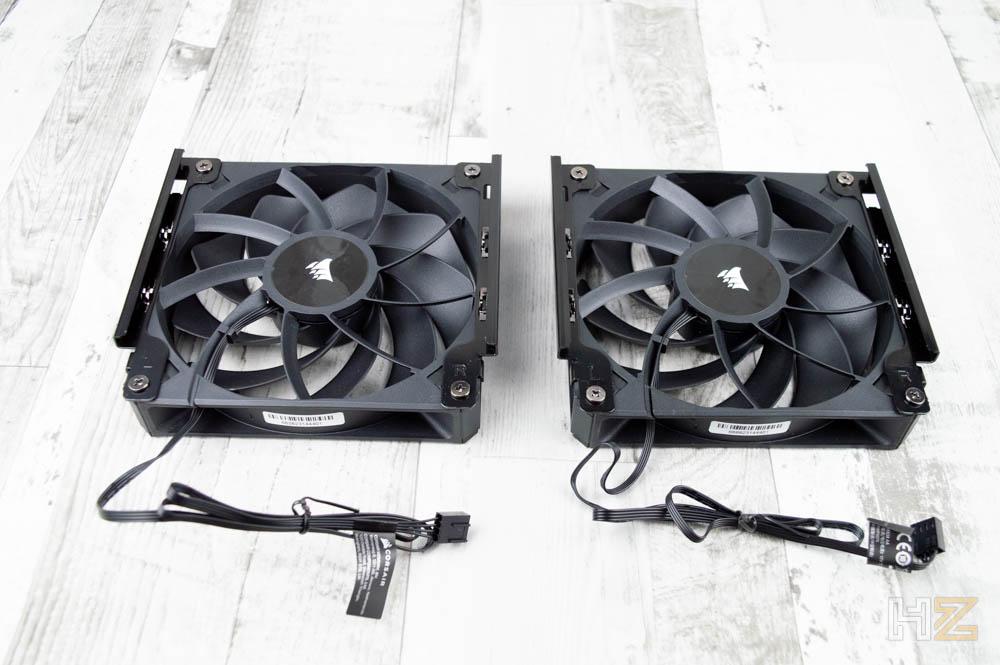
Once this is done, we simply slide the fans into place and connect them to the board.
Although the RAM (Corsair Vengeance RGB DDR5) does not have very high heatsinks, the external fan is raised a little, making the total height of the heatsink somewhat higher than what the specifications say. Fortunately, the Corsair 4000D that we have used has plenty of room to take on this.
We already have the Corsair A115 assembled and ready to go, so it's time to check how it performs in terms of noise and performance.
Test of performance
To test the performance of this new Corsair heatsink we have used the following hardware:
- Intel Core i9-14900K
- ASUS ROG STRIX Z790-E Gaming WiFi II
- 2×16 GB Corsair Vengeance RGB 6000 MHz
- TeamGroup Cardea A440 Pro 2 TB
- Corsair Obsidian 4000D Airflow + 3x Arctic P12 Max on the front (PWM)
- NVIDIA GeForce RTX 4060 Ti
- Corsair RM1000i
As usual, after installing the heatsink we left the PC on for two hours with normal use without stressing the processor too much (as it is a test computer and we only turn it on when we are going to analyze a product, we take the opportunity to update Windows, drivers the graphics and little else), then we leave it off for an hour and then turn it on again, with the aim of allowing the thermal paste to settle perfectly before subjecting it to real stress.
To put the processor at maximum and see how the Corsair A115 behaves we have used Prime95 64 bit in Blend mode for an hour, and we have taken the maximum temperature data recorded. In the following graph you can see the result, expressed in Delta temperature (this is the measured temperature minus the ambient temperature, so that although the ambient temperature varies we can compare the result with that obtained with other heatsinks at other times).

Although the CPU Package reached 89ºC with 24ºC ambient temperature, the cores stayed at 79ºC, a more than acceptable temperature considering that the Core i9-14900K is a real beast at generating heat.
As it is a fairly new processor, we have only been able to compare the temperature result with a couple of other heatsinks, but here you have the result.
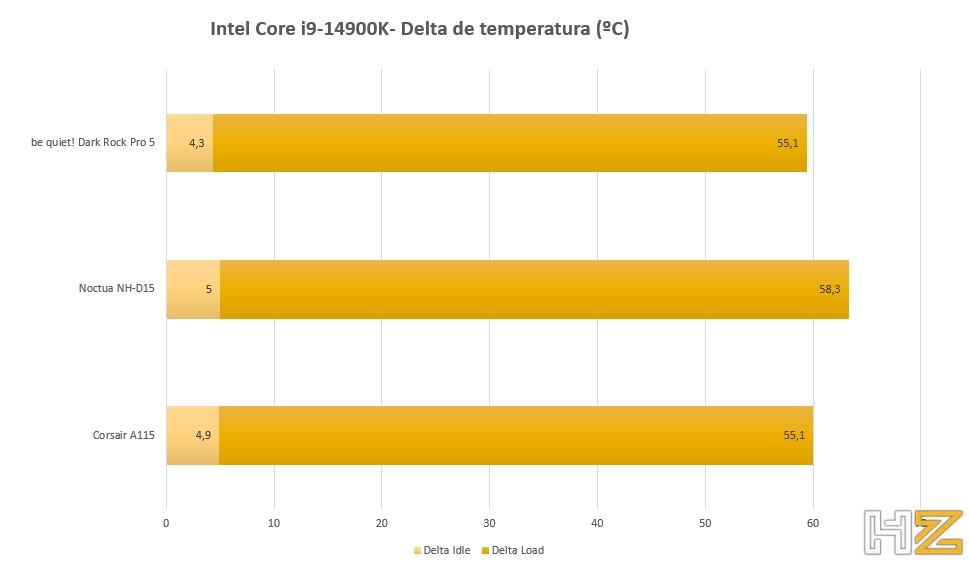
As we can see, the Corsair A115 maintains the type very, very well, improving the result of the Noctua NH-D15 by 3.2ºC under maximum load and equaling the record we obtained with the be quiet! Dark Rock Pro 5, the top-of-the-range air cooler from the German brand. Of course, the performance result is excellent and it is one of the few air coolers on the market capable of keeping Intel's 14900K at bay.
As for loudness, we have used, as always, a Protmex PPM-SM001 sound level meter at an exact distance of 50 centimeters from the heatsink so that the result we obtain comes out in dBA. In this case, since the fans were in PWM mode, we did compare it with other heatsinks from the previous platform (which was a Core i9-12900K, which is also no small feat in terms of heat generation). This is the result.
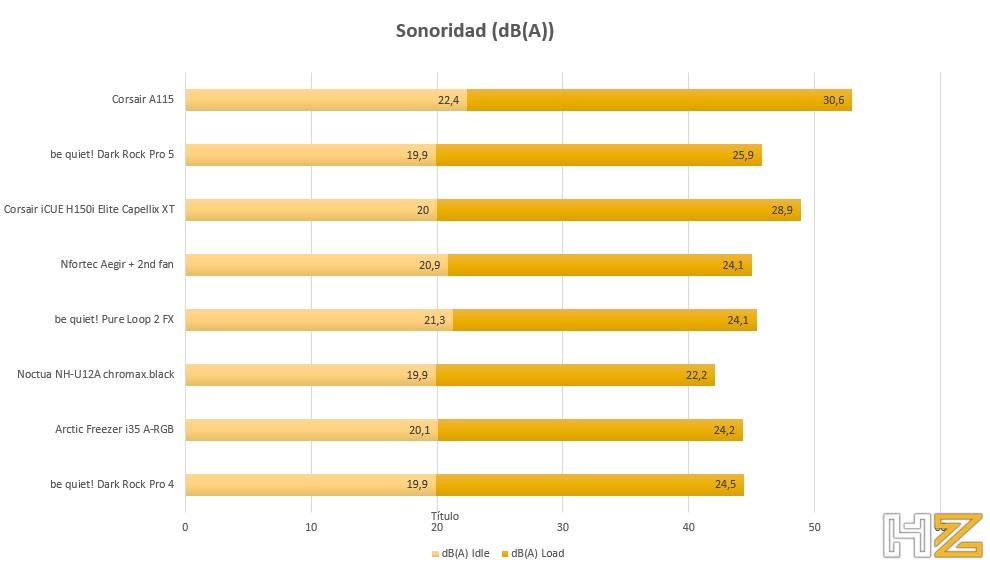
Actually, the Corsair A115 is a little noisier than other heatsinks in the same category, and those two 140 mm Corsair AF140 Elite fans are not the quietest on the market. All in all, when the box is closed and we are using the equipment normally (including gaming), practically nothing is heard and it is only when we force the processor with torture benchmarks such as Prime95 that the fans are heard, but nothing exaggerated. .
It is true that if you are a silence maniac this heatsink may not be for you, at least not if the processor you are going to use generates as much heat as the 14900K that we have used, but in general terms we consider that the Corsair A115 is It deserves an outstanding rating in terms of acoustic performance.
Conclusion and verdict
While it is true that Corsair has never abandoned the TOP positions on the list of the best heatsinks on the market, until now it has always been with its liquid cooling systems, and we have honestly liked to see that it is also capable of maintaining the type when It is about air heatsinks, since at the end of the day not everyone wants to install a liquid one on their PC.
Furthermore, it does so with one of the few air heatsinks on the market capable of keeping the temperature generated by the Core i9-14900K at bay, and that is not saying something, which is why we can only praise its excellent thermal performance at the same time. which maintains a quite acceptable sound level.
The only drawback that we have found with this heatsink is that we did not really like that rail system to install the fans; It is comfortable to put them on and take them off, yes, but having to anchor rails to the fan itself and use the ones that come with the heatsink… I don't know, it hasn't convinced us at all, we would have preferred a ready-made plastic structure like the one used by Be quiet! on your Dark Rock Pro 5.
In short, if you were looking for an air cooler to cool your top-of-the-range processor, this Corsair A115 should be among your main candidates. For this reason, we give it our Gold award, as well as our recommendation for its performance.