


All of us want to always have a very good connection to the Internet and to the local home network through Wi-Fi connectivity, regardless of whether we are close to the main router or far from it. In recent years, Wi-Fi mesh systems have become popular, where we have a router that communicates “intelligently” with WiFi extenders and repeaters, and allows us to form a mesh network so that wireless clients have WiFi roaming when moving. by the House.
Thanks to WiFi roaming or roaming, the client device will connect to the nearest access point, in order to achieve the best wireless coverage and speed. In the case of not having a WiFi Mesh network that provides us with the ease of WiFi roaming, you can get a better user experience by configuring a parameter in the WiFi network card of your computer, with the aim that this “transition” be as fast and imperceptible as possible, causing it to force the connection to the new wireless access point as soon as it finds a network with a better signal.
What is roaming aggressiveness?
The roaming aggressiveness, is the speed level that the Wi-Fi card searches for another access point with a better signal and connects to it. Windows allows us, through the advanced configuration of the network card, to modify this parameter in order to perfectly adapt to our roaming needs. If we define a minimum roaming signal, then the WiFi card will not connect to the new nearby WiFi access point until we lose almost all the WiFi wireless coverage of the node where it is connected. Otherwise, if we define a maximum roaming, then the WiFi card will connect much faster to the nearby WiFi AP, without losing as much wireless signal.
A very important detail is that the extremes are very bad. If we define a minimum roaming, it will take a long time to “pass” to the nearest node. However, if we choose the most aggressive configuration, it is possible that it will be constantly changing nodes even if we are placed in the same place, because as soon as it detects that another signal is somewhat stronger than the current one, it will try to change, and so on continuously. In the latter case, it could cause cuts in the wireless connection by continually changing the WiFi access point. This value is based on the RSSI (signal received from the router or repeaters), and not on the proximity as such, however, the closer we are to the router, the better the signal.
The Windows operating system allows us to establish a total of five levels of aggressiveness that we can configure for roaming, these levels are the following: minimum, low, medium, high and maximum. Depending on our needs, we will have to choose between one level of aggressiveness or another, however, it is not that there is one level better than another, everything will depend on the scenario where we find ourselves. By default, all WiFi cards are configured with the “medium” level of roaming aggressiveness, from here we can decide whether to leave this configuration by default, or modify this configuration above or below.
The level of roaming aggressiveness depends on the environment where we are, if we see that we are changing the WiFi access point very quickly without this being necessary, then we will have to lower the level to low or minimum. In the event that in our home we see that it is “hard” to change the WiFi access point because it still has a good signal from the AP where we are connected, then you will have to configure the parameter to high or maximum.
Problems if aggressiveness is maximum
If we configure the WiFi network card with the aggressiveness in the “maximum” value, we could have a lot of connectivity problems if we have two or three nodes spread over the house. In this configuration we could suffer continuous wireless disconnections because it will try to connect to the AP that provides us with the best signal, even for a couple of seconds, to later reconnect to the previous access point, causing cuts and instability in the network.
Another aspect that we must take into account is that the energy consumption of the WiFi card could increase, causing our laptop or ultrabook to have less autonomy, so we must also assess this aspect.
Now that you know what roaming aggressiveness is, let’s see how to change it in Windows operating systems.
Change the roaming aggressiveness level in Windows
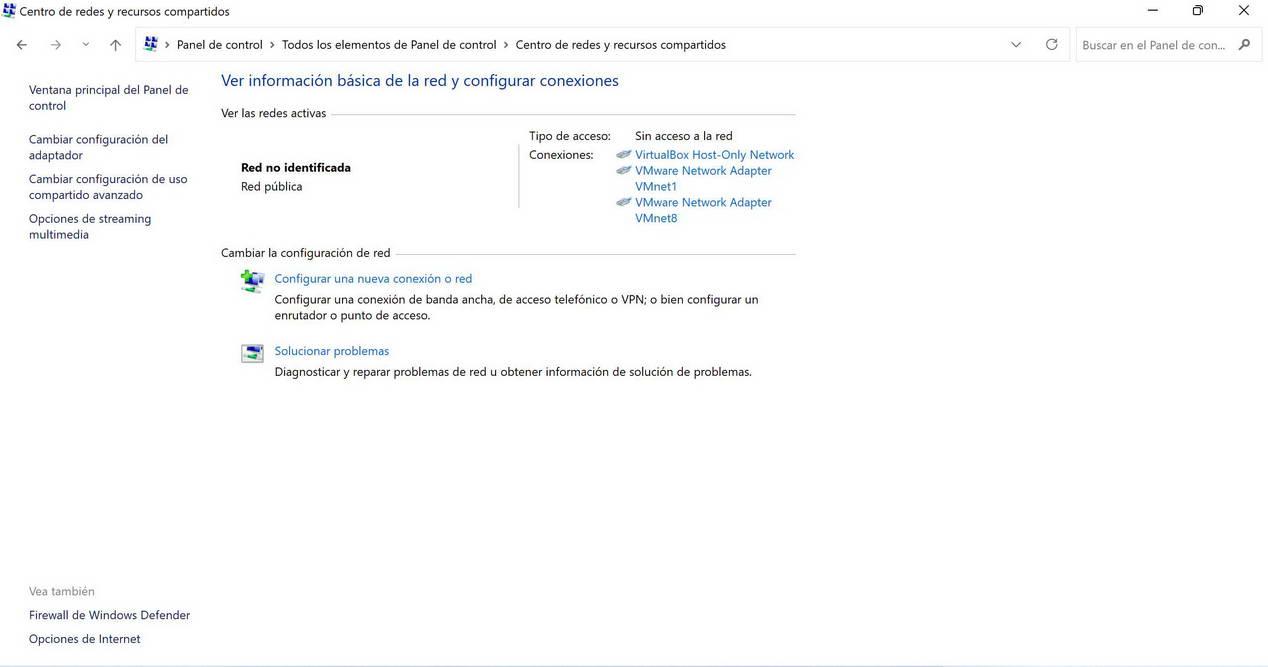
The first thing we must take into account before changing the level of roaming aggressiveness is to know what we need, whether to “lower” the level or “raise it”. Once we have decided, then we proceed to make the configuration. In Windows 10 and Windows 11 operating systems, the process is exactly the same, the first thing we must do is go to the “Control Panel / Network and Sharing Center«.
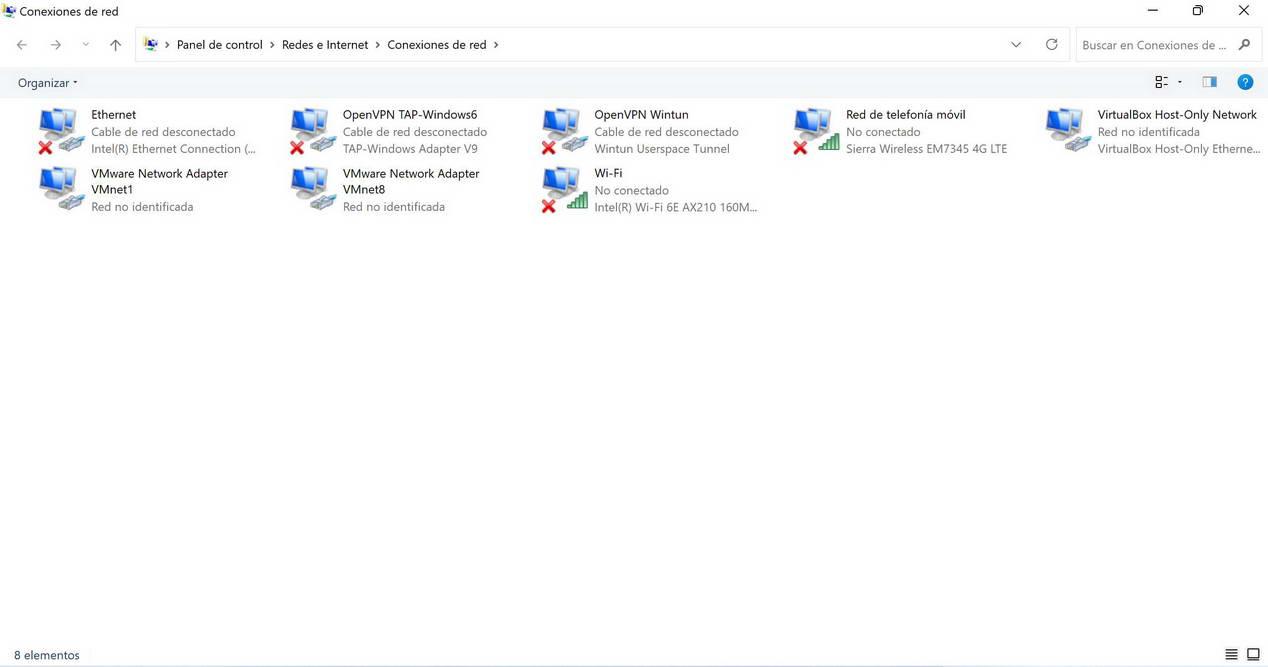
Now that we are in the network and sharing center, click on the option “Change adapter settings» to access the list of all network cards, both wired, wireless, virtual and also VPN connections that we have established.
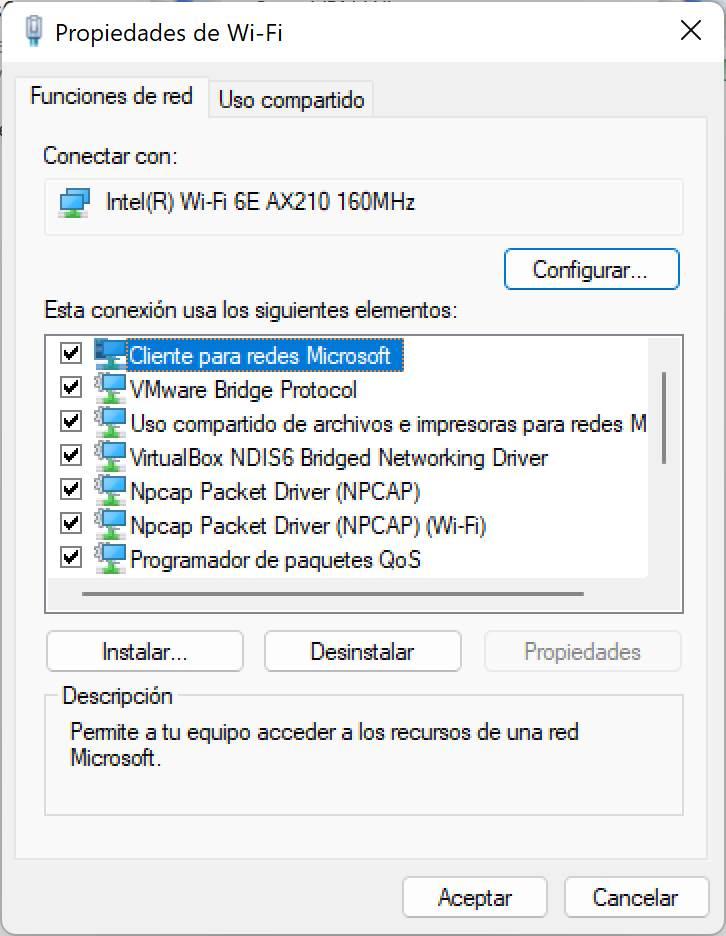
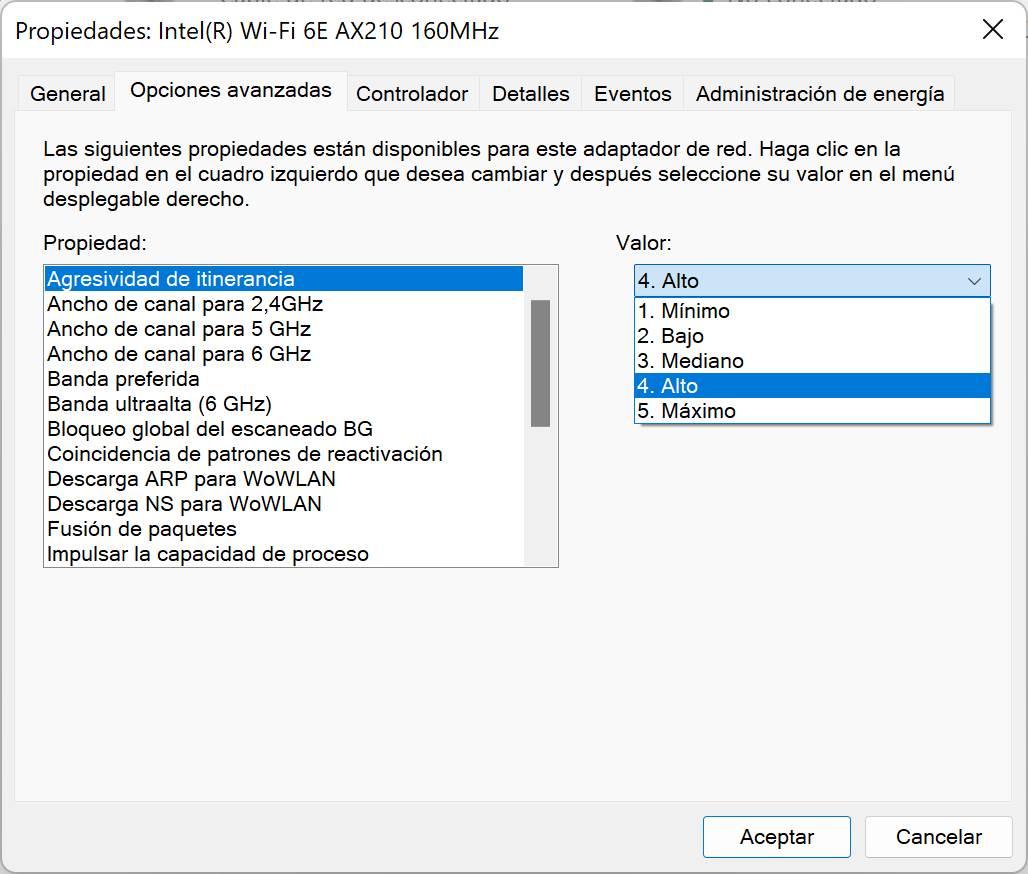
Once we are in the network connections menu, we must right-click on the WiFi wireless card that we want to modify, in our case it is the Intel AX210 which is Wi-Fi 6E, and click on “Properties”.
Now we have to click on the button «Set up» to directly access the advanced settings of the WiFi wireless network card.
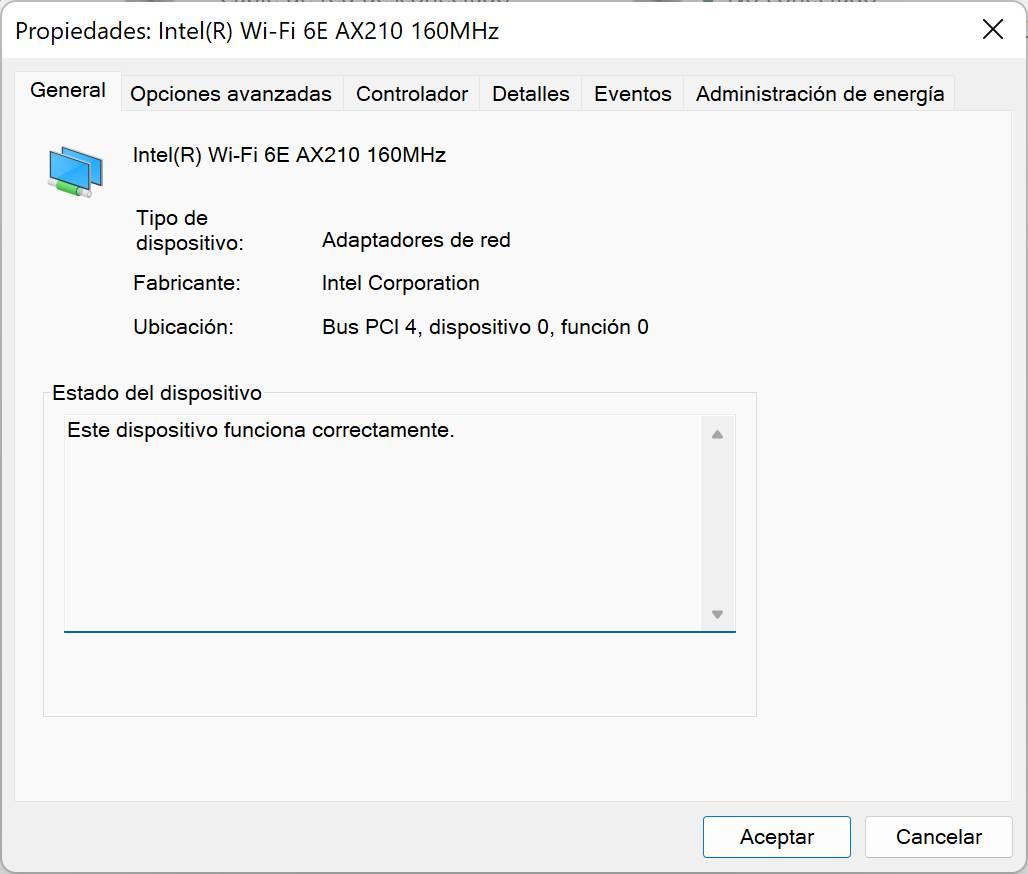
In the section of “Setting» We will see in the general tab what card model it is, we must go to the «Advanced Options» where we will have the roaming aggressiveness menu.
In this menu is where we can make the configuration that we want. As you can see, we have a total of five levels, depending on our needs and the current behavior of the WiFi network card, we will have to choose one level or another. In our case, we have configured the “high” value, since on some occasions we verify that the WiFi network card remains connected to an AP that provides us with less signal than one that is closer to us, in this way, we will be “forcing” the connection to the AP that provides us with the best signal.
Depending on your needs and scenario, you will probably have to try different values to adjust it perfectly and have the best user experience. Our recommendation is that you try two or three configurations, and move around the house to see if the roaming speed has improved.
What to do if this option does not appear
It is possible that, if you try to access the “Advanced options” part as we have explained, this option will not appear. In this case, the controller or installed driver does not support this configuration, our recommendation is that you access the official website of the card manufacturer and download the latest available driver, to later install it manually, choosing the downloaded file and then restarting the computer or laptop.
In the event that you already have the correct driver installed, then check if there is any type of update for said driver, in this case you will simply have to update it and not change the driver.
Conclusions
The possibility of configuring the level of roaming aggressiveness is perfect for adjusting the behavior of the Mesh or non-Mesh network to our needs as best as possible. You must take into account if you want to reduce this level of roaming or increase it, depending on the scenario where we find ourselves, you will have to carry out a small study on what exactly you need.
In general, the default setting of “medium” will be sufficient for the vast majority of users, however, it is possible that in scenarios where we have a chalet or a duplex with several nodes spread over the different floors, we want roaming be much faster and not stay connected to the lower or higher floor node. In our case, having a house with several floors, we have changed it to “fast” because it took longer than desirable to unhook from the node of the upper or lower floor, in this way, just when we finished raising or lowering the stairs, we will already be connected to the nearest access point and it will provide us with the best possible signal.