


Sometimes it is necessary to use some native Android apps on your PC, and the emulators that exist are not always good enough for all cases. Whether it’s because you’re a developer and you need to test your apps, or because you need to test Google’s operating system on your PC, one of the best options available to you is install android in virtualbox.
Here you will learn how to do it step by step, in addition to knowing what the limitations are in terms of Android versions, as well as the basic configuration of the virtual machine in Oracle VirtualBox.
Install VirtualBox on your PC
For install VirtualBox on your PC, the generic steps to follow to have the latest stable version are:
- Go to the official VirtualBox website at download section.
- There you will see a section called VirtualBox Xyz platform packages, Xyz being the latest stable version at the time of download.
- There are several packages that you can download, depending on your operating system. You must choose the appropriate one:
- Windows hosts for Microsoft Windows.
- OS X hosts for macOS.
- Solaris hosts for the Oracle Solaris operating system.
- Linux distributions for GNU/Linux distributions. Within this there are several types of packages:
- For CentOS and Oracle Linux (rpm)
- For Ubuntu and Debian (debs)
- openSUSE and Fedora (rpm)
- And for all distros (.run)
- Once you have chosen the appropriate package for your version and type of operating system, you must install it as you would any other program.
- When installed, you could also download and install extensions of VitualBox, although this is optional, since they only serve to add some extra functions between the host and guest operating systems.
And I’d already be ready to run and to be able to create virtual machines.
Beware: VirtualBox is not an emulator
VirtualBox is not an emulator such as BlueStacks, MEmu Play, Genymotion, Anbox, and even Android Studio itself. It is a virtualization software to create a virtual machine with the necessary resources to run the operating system as if it were on a real machine.
By this I mean that it is important to choose the right version for your platform, since you will not be able to use Android for ARM on your x86 PC, nor vice versa, since for that you would need emulation software like QEMU etc.
Where to download the right version of Android
To be able to work with VirtualBox on a conventional PC, it is necessary download android for platform x86. This is as simple as following these steps:
- go to this download website official Android x86.
- Click on the blue or green button depending on where you want to download the operating system image from. In either case, it’s okay.
- Then, it redirects you to another download page, and from there you can select the version of Android you want to download. But remember that it must be .iso, do not download the .rpm that is there.
- Wait for the download to finish, and you’ll have it locally. They are usually 800-900 MB in size.
Alternatives: other operating systems based on Android and compatible with their apps
In addition to the official version of Google Android OS, you can also use other operating system alternatives that you can also virtualize and that are compatible with Android apps natively or that are derivatives based on Android. Here are some good examples:
Install Android in VirtualBox step by step
Install Android in VirtualBox it can be a simple task for those who are used to using virtual machines and installing operating systems, but not for the rest of the users. However, here are the steps explained:
- Once you have VirtualBox installed and you have the Android x86 ISO, the following is run VirtualBox.
- On the main screen press the button New to create a new virtual machine. And give it a name, for example Android.
- Now the virtual machine configuration wizard opens. The first thing it asks you is to enter the version, which you must choose Linux 2.6/3.x/4.x.
- In the section to specify the RAM of the virtual machine, you can choose 2GB or 2048 MB, although 8GB is recommended.
- Create a virtual hard drive also to install the operating system there. Do not fall short in size, because if you are going to install many apps, or have many files hosted, it will be too small. Although it can work with just over 1GB, the ideal is to use slightly more generous sizes, such as 32GB or more.
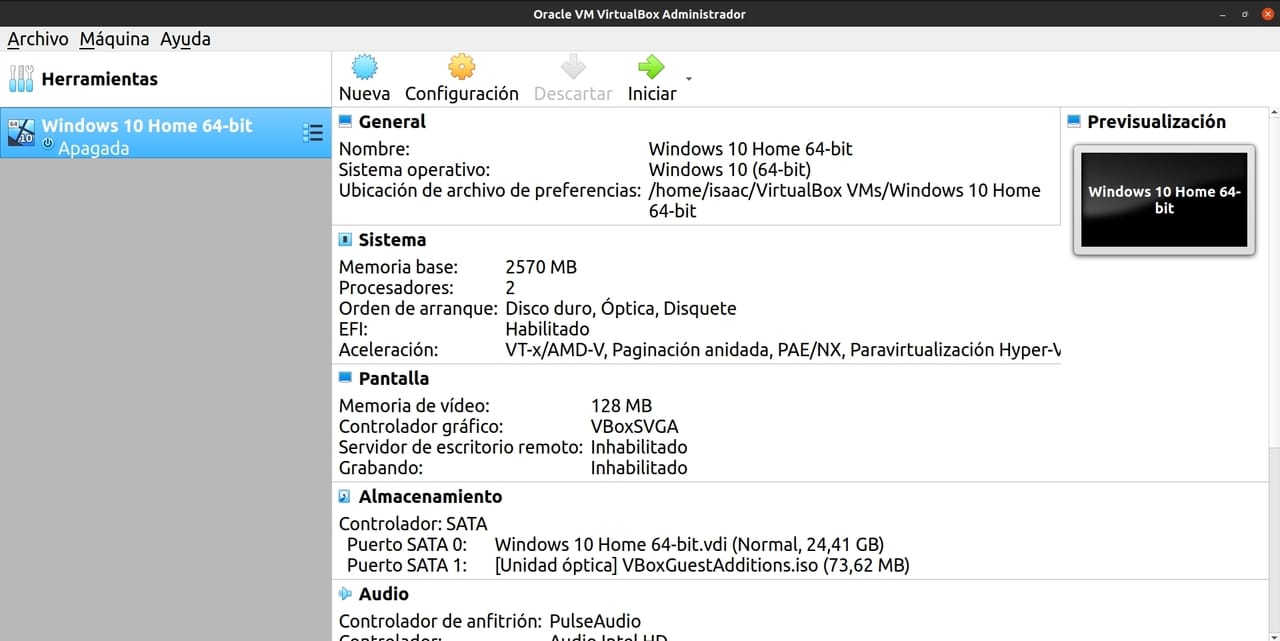
- Once the virtual machine configuration wizard is finished, the virtual machine will be created. Now some adjustments need to be made. Click on the Android virtual machine that you have created on the main screen of VirtualBox and then click on the icon Setting:
- System: in this section you can choose the number of vCPUs or virtual processors assigned. 1 is the minimum, although you can choose more if you prefer it to go more smoothly.
- Screen: Change VMSVGA to VBoxVGA and turn on 3D acceleration. If you want, you can also increase the video memory a bit.
- Storage: select the medium with a CD icon and in the attributes you should choose where is the Andorid .iso image that you downloaded.
- Audio– Drop Intel HD Audio, which is natively supported on Android x86.
- Net: Usually you don’t have to do anything, although if you want your Android to not be connected to the Internet, disable the network adapter.
- After that, you can start install android in virtualbox. To do this, go back to the VirtualBox main menu and click Start to start your virtual machine.
- Since it’s the first time, you’ll have to install the operating system from scratch. The following times you start your machine, it will already be installed and when you start it, the Android desktop will appear directly. On the main screen you will see several options:
- LiveCD It is used to test Android x86 without installing.
- The option of Installation will install it. In this case, if you want to use a specific resolution, press the tab key and change vga=788 to another of the available modes. You can use vga=ask to see what you have to choose from.
- If you have chosen to install Android in Virtualbox, then you will now need to choose Create/Modify partitions. If you want an easy installation, just create an ext4 formatted partition. Although if you want to create other partitions you can too.
- Then you will continue with the installation of the manager of GRUB boot, choose to make the /system partition read/write, and the installation will finally complete. Then close or restart the virtual machine.
- It is important that you go back to Settings of your Android virtual machine and from there delete the ISO from the virtual CD, since otherwise the installer will come out again.
- Start your virtual machine again and it will boot Android with the setup.
Keep in mind that the resources allocated to the virtual machine (virtual RAM, virtual CPUs, storage space, etc.), are limited by the hardware of your PC.
Now already you will be able to do anything you would do on an Android installed on a real device, such as installing or uninstalling apps, launching them, accessing the Internet, making settings, etc.
Easier still: avoid installing Android in VirtualBox
for some who do not want to complicate life and have an Android already installed in VirtualBox, you can also skip the steps in the section on how to install Android in VirtualBox and download the virtual machine already created so that you simply have to start it from the virtualizer. Can find these machines on this website.