Files from Apple is an application that deserves to be known, evolving each year discreetly, but surely. After sharing with you a tip for zipping/unzipping files, here’s how to make file extensions appear.
There are two easy ways to see the extensions of your images, videos, music, documents, and more saved inside the Files app on iPhone and iPad. It’s up to you to choose between displaying it on a case-by-case basis, or for all the data therein.
A new “Easy iPhone” tutorial.
Files shows extensions
To get information about a specific file
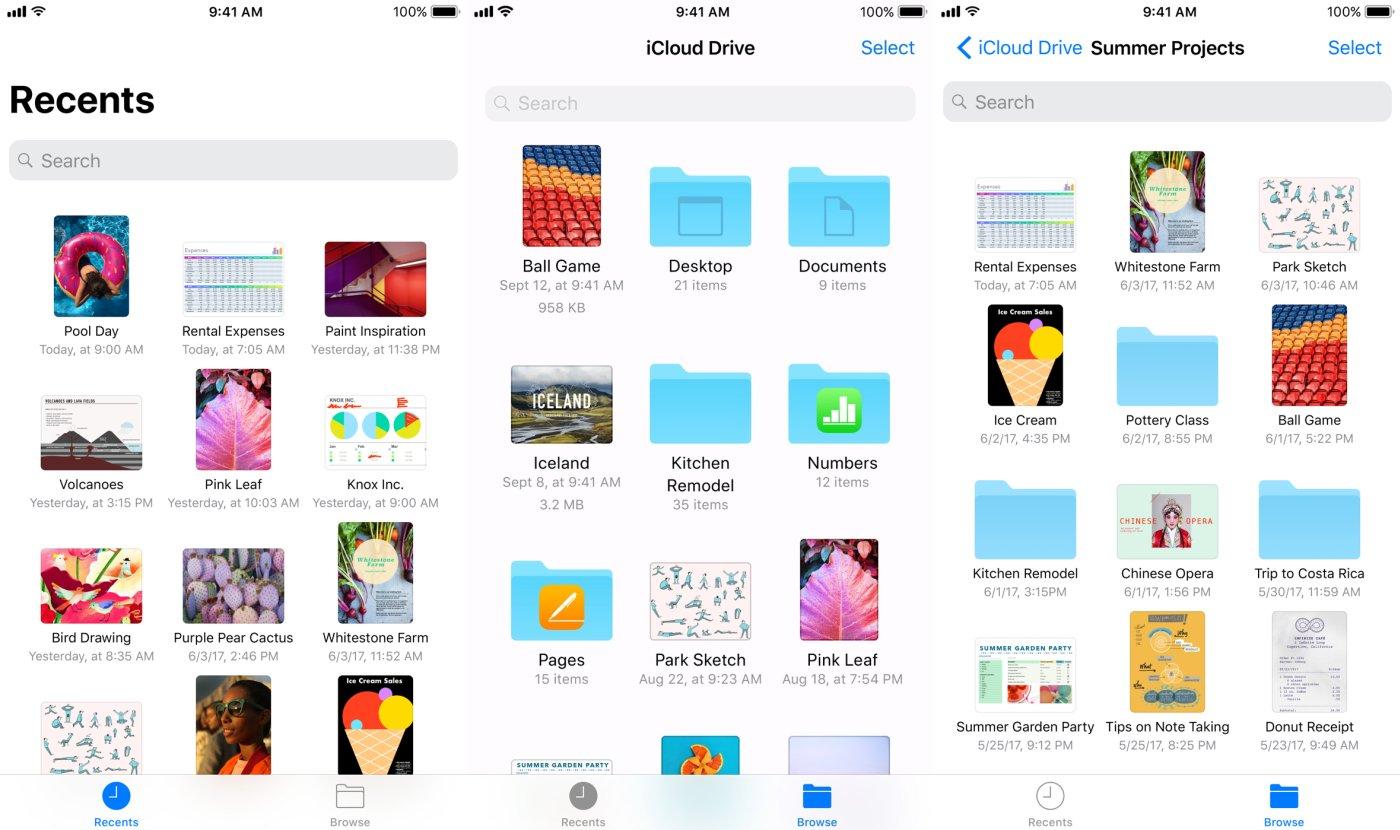
- Open the Files app and go to any folder.
- Touch and hold the file and choose Get Info.
- You will see the file type extension next to the file name, below the file name and in the Type field.

Permanently configure the Files app to show extensions
If you want to make this option permanent, follow these steps to set up your iPhone or iPad on iOS 16 or iPadOS 16 and later:
- Go to the Files app and go to any folder.
- Tap the More icon (three dots inside a circle in the upper right corner).
- Choose Display Options from the list.
- Tap Show all extensions.

You will immediately see the extension at the end of each file name. The setting applies to the entire Files app. This means you’ll still see the extension names, even if you go to a different folder from “On My iPhone”, iCloud, or added third-party locations like Dropbox or Google Drive.
To stop seeing file extensions in the Files app on iPhone or iPad, tap the More icon in a folder > View Options and uncheck “Show All Extensions”. Quite simply.
And if you have an Apple computer, here’s how to view file extensions on Mac.
Download the free app Files