

Just launched, already tested. We installed Chrome OS Flex on an old Retina MacBook. We explain the steps to follow and we give you our first impressions.
Chrome OS Flex on a Retina MacBook
Earlier this week, Google announced the launch of Chrome OS Flex. In summary, it is a new method to install and try Chrome OS on PC and Mac without having to replace your existing operating system.
Chrome OS Flex allows users to turn a USB drive into bootable instances, and also replace Windows/macOS if desired. Finally, you can also opt for the dual-boot.
This isn’t the first solution for installing Chrome OS anywhere other than on a Chromebook. You can very well install Chromium OS (open-source version of Chrome OS) and do it manually, Google didn’t invent anything. What Google has done is develop (via the acquisition of the startup Neverware) a solution called CloudReady. This technology is based on Chromium OS and simplifies the steps to follow.
How to install Chrome OS Flex?
To install Chrome OS Flex, your machine must have at least 4 GB of RAM and 16 GB of disk space. You will also need a USB stick of at least 16 GB to create a bootable installation USB stick. In practice, an 8 GB key does the trick.
Chrome OS installs on most Intel or ARM-based x86/x64 machines, however Google provides a list of certified machines. This allows you to take advantage of all the functions, including the touchpad, the keyboard or the speakers. If you’re using an uncertified machine, it might just work fine…but you’ll know once it’s started.
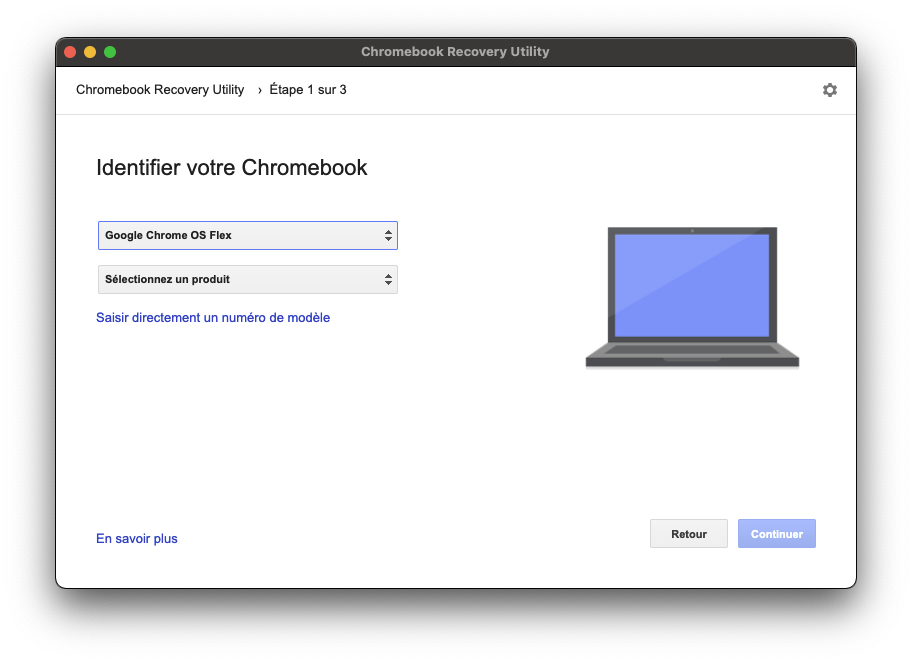
Chromebook Recovery Utility
The installation is very simple, you need a Mac or a PC with the Chrome browser installed, as well as this Chrome extension. Once your USB key is ready, launch Chromebook Recovery Utility.
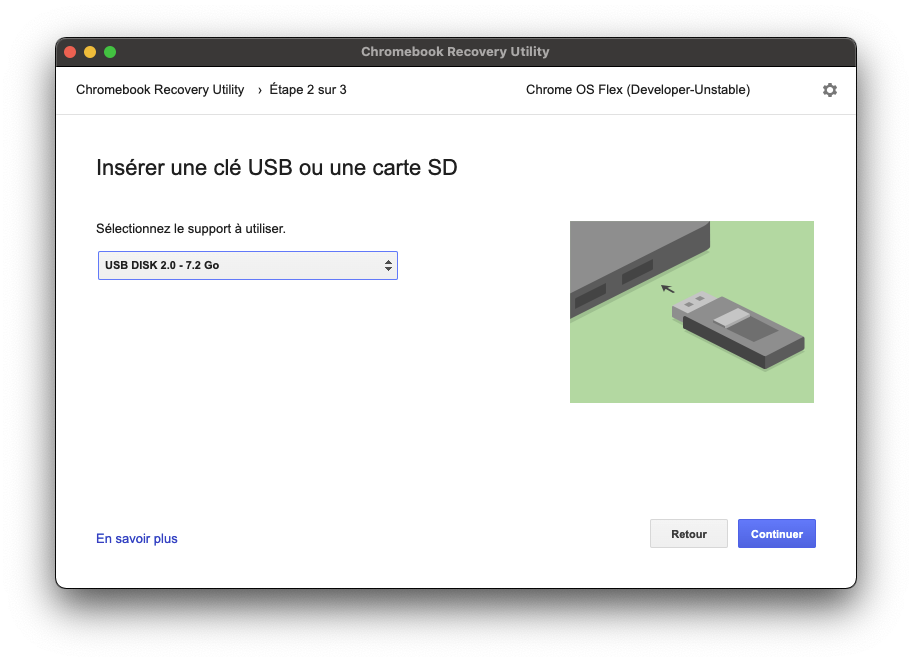
Select your USB key or your SD card carefully, prefer USB 3.0 if you have the choice… this allows you to have faster writing and reading speeds of course. Be careful, all data will be deleted on the USB drive.
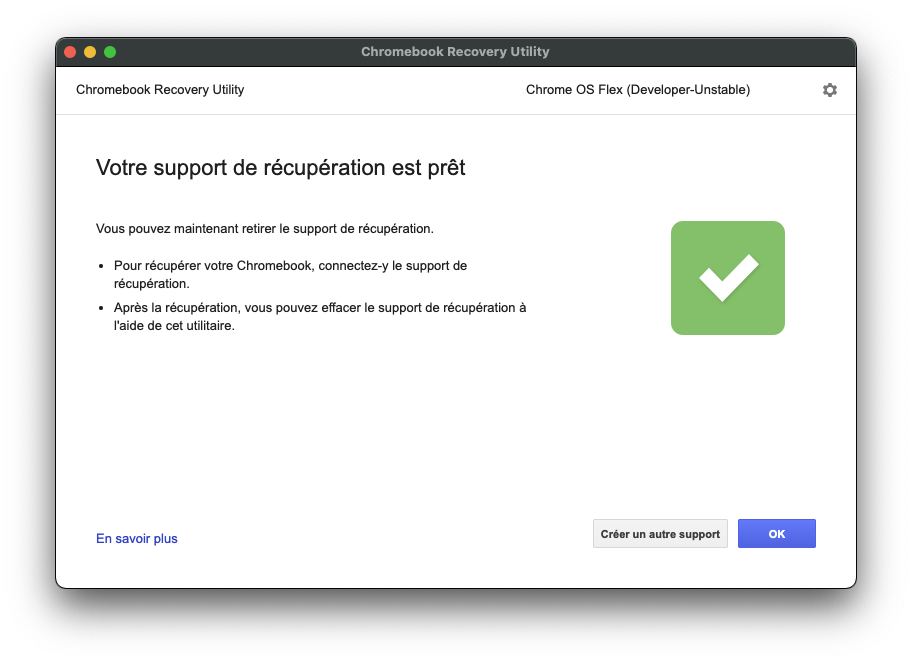
That’s it, your USB drive is ready. All you have to do is connect it to your PC / Mac, then you must start it via the boot menu, BIOS/UEFI… depending on your device. On Mac, for example, you have to press Option (next to the ⌘ key), on Acer it’s F2, on Dell it’s F12, on HP it’s F9… Usually it’s F2 or F12. Finally, except at Asus, you have to press the key Delete.
After the Chrome OS splash screen, you will have the choice to launch the system from the USB key or install it on a partition of your computer. Be careful, this last option will erase everything on your PC/Mac.
Our experience with Chrome OS Flex
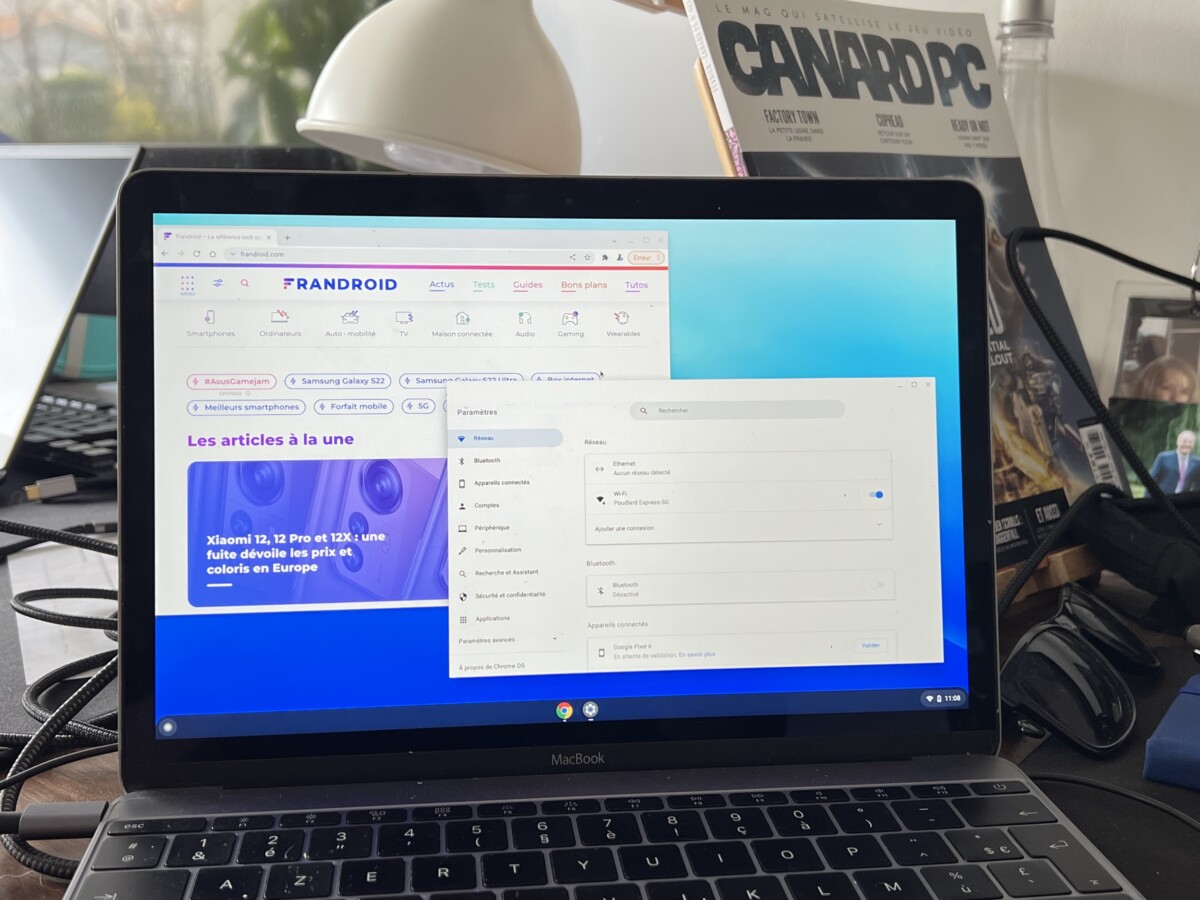
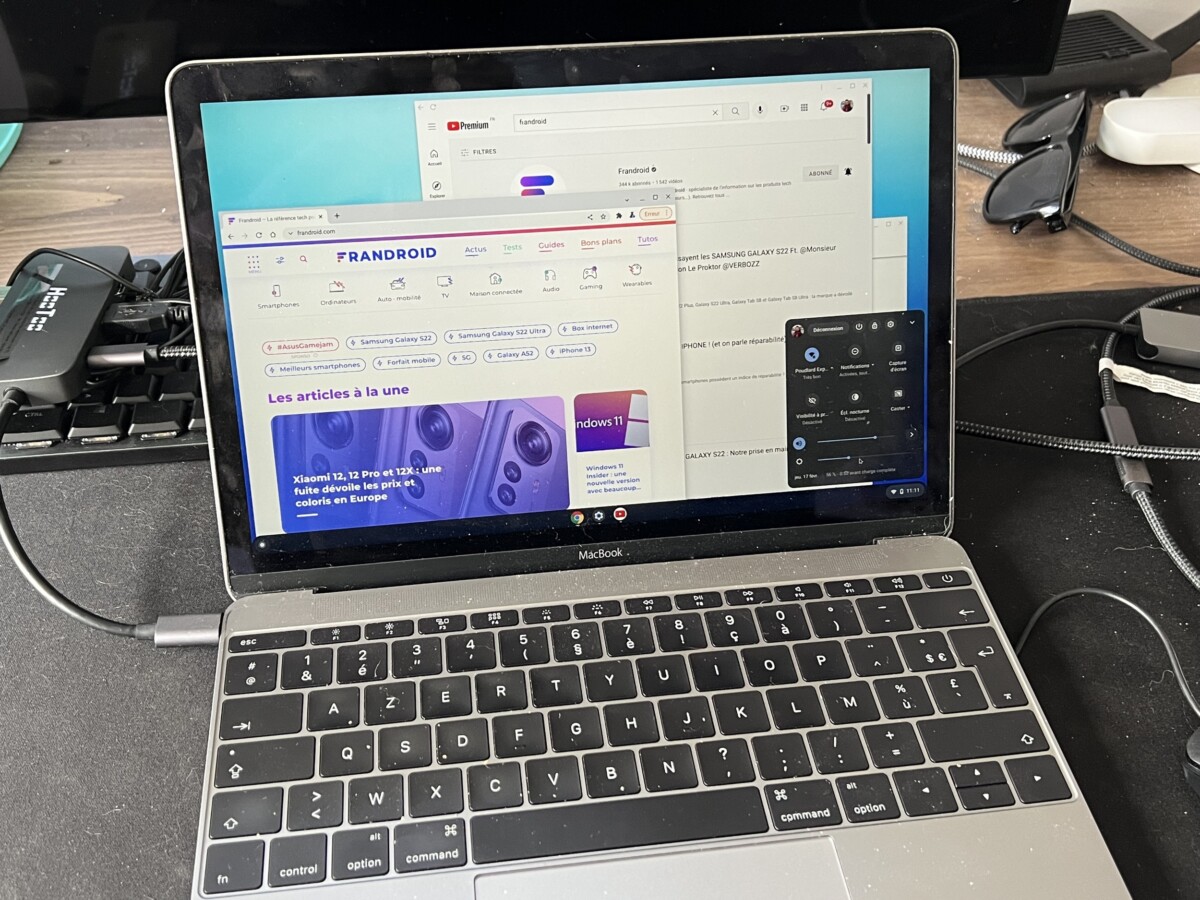
We decided to install Chrome OS Flex on an uncertified machine. This is a 12-inch MacBook Retina, a dying machine, which was quite unique in its genre: a small 12-inch Retina screen, a machine without an active heat sink (and therefore no noise) , a single USB-C (in addition to the headphone port) and a low-power Intel Core i chip. It’s a very fair configuration for running macOS, and therefore a perfect candidate for Chrome OS.
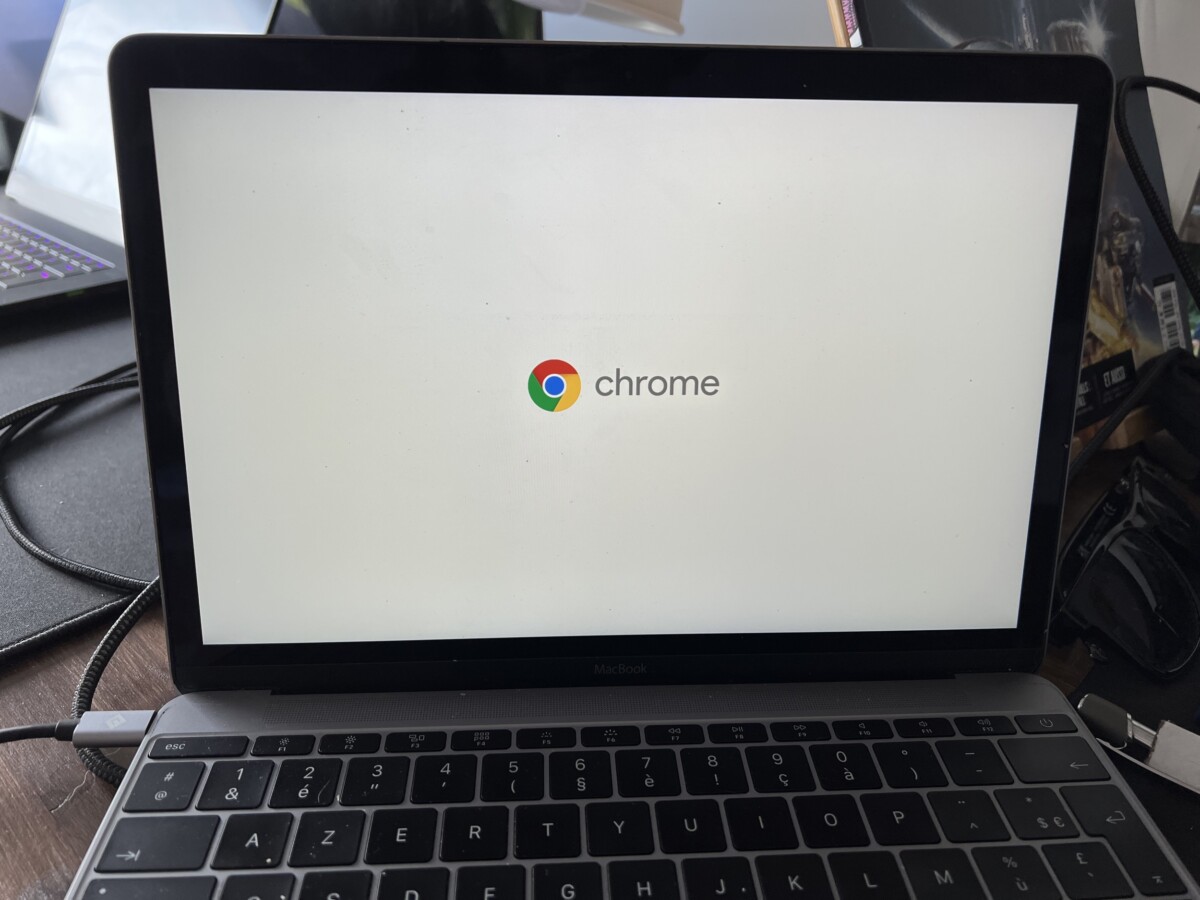
If the Chrome logo appears, the system is loading
The magic happens right after: CloudReady 2.0 simplifies the use and installation of Chrome OS. As explained above, you can even run Chrome OS from the USB key to preserve your OS or test Chrome OS before installing it. This is what you have chosen to do.
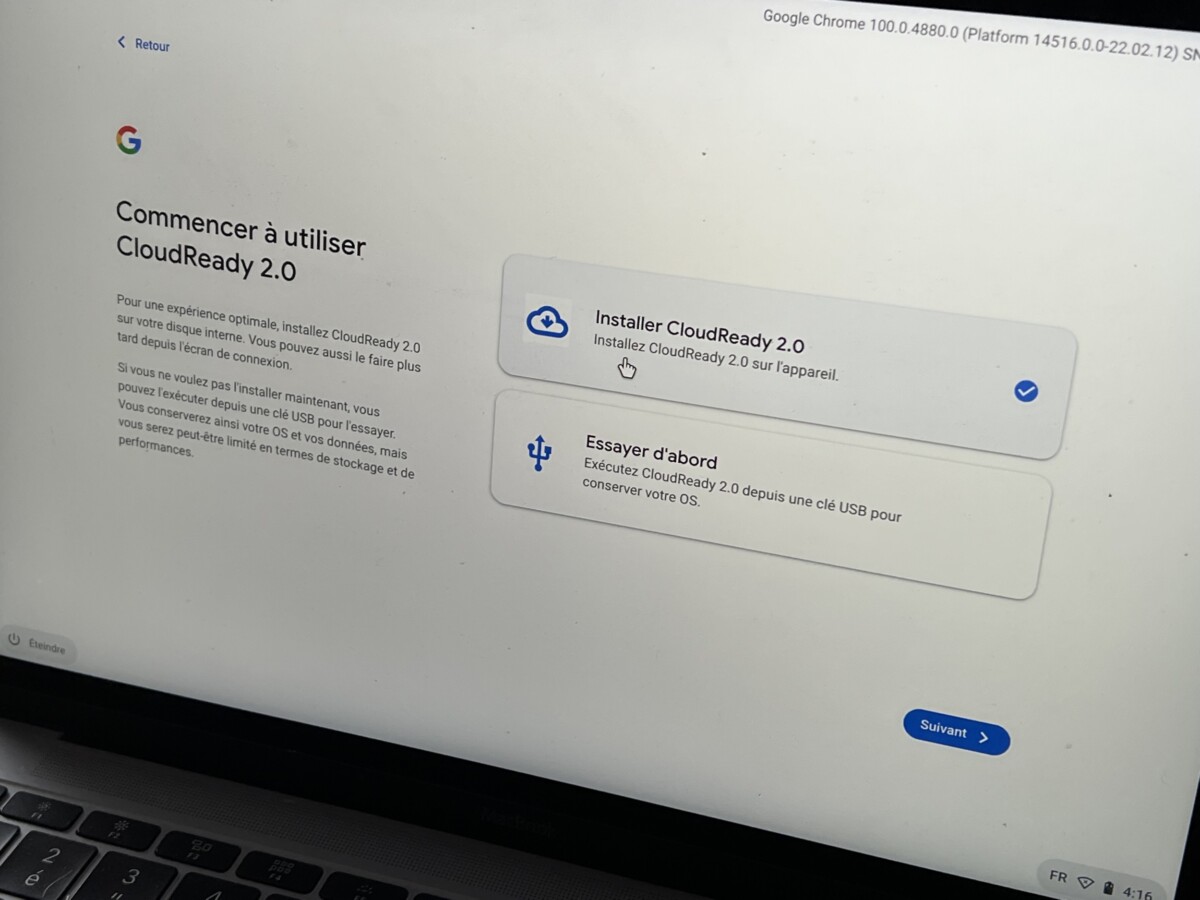
On this screen, you have the choice between launching the system without installation or using Cloudready 2.0
Our first launch was done on a guest session, it loaded fast and the browser was ready to use. Ideal for making it a common machine in a meeting room, for example. No need for password, Google account… the functions are basic but the essential is there.
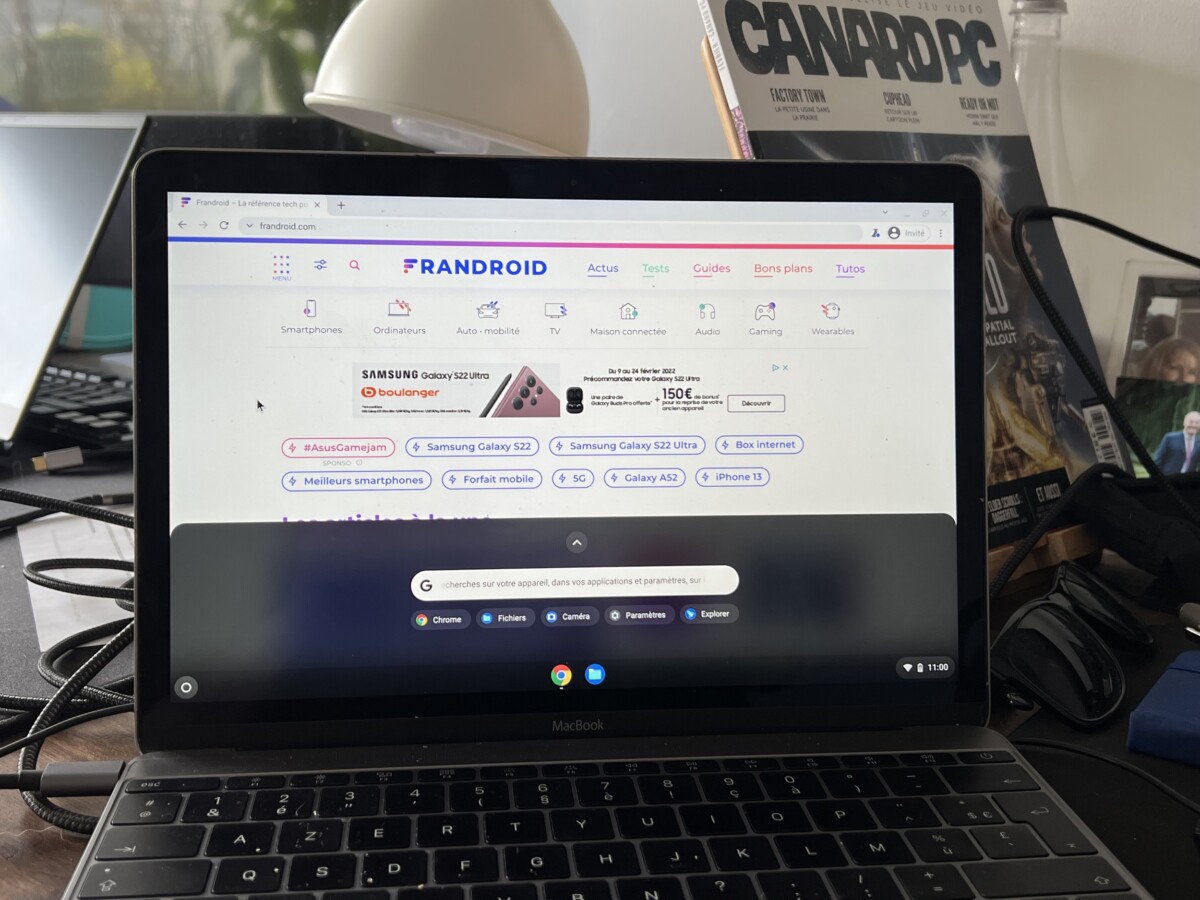
Unfortunately, we quickly realized the limitation of an uncertified machine: the keyboard, touchpad and speakers are not functional. On the other hand, if you connect an external keyboard and mouse, everything works fine.
It’s a shame because the OS is fluid, it’s a story of supporting the right drivers. There may be workarounds to make native MacBook Retina accessories work, but we haven’t explored that part yet.
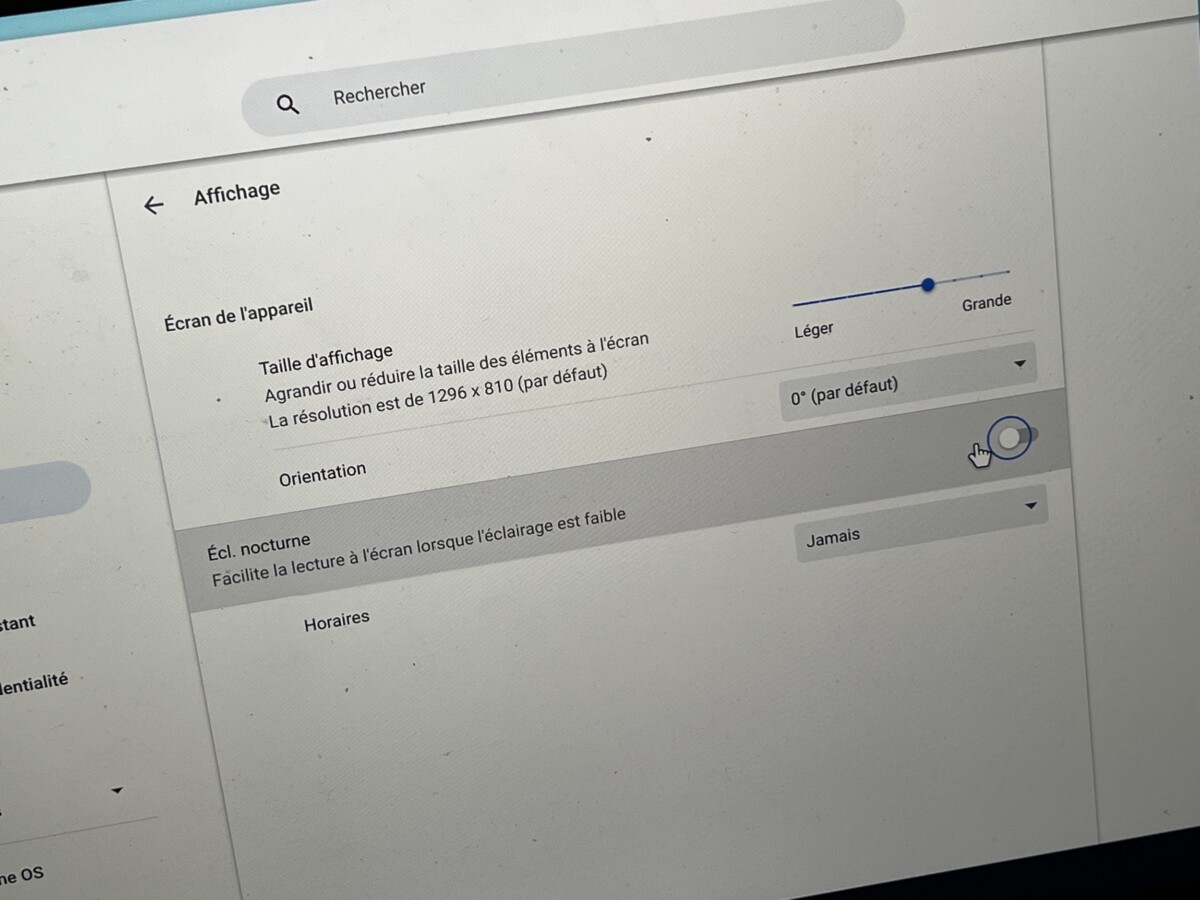
You can even take advantage of the Retina resolution by increasing the definition, but the elements can quickly become very small. Authentication with a Google account works well, applications and other extensions then install automatically. Wi-Fi and Bluetooth are also functional.
Despite the compatibility issues, the experience remains very promising. If you’re used to using the Chrome browser, Chrome OS Flex will come in handy. On the other hand, on this version, there is not yet the Google Play Store with support for Android applications. This may be a hindrance for some of you. Also note that this is a beta version, it may lead to instability and compatibility issues.
In any case, like GNU / Linux distributions, Chrome OS Flex is a serious solution to revive a machine that is dragging its feet on Windows or macOS. You can easily try the experience by following the steps above and share it with us in the comments.
To follow us, we invite you to download our Android and iOS application. You can read our articles, files, and watch our latest YouTube videos.